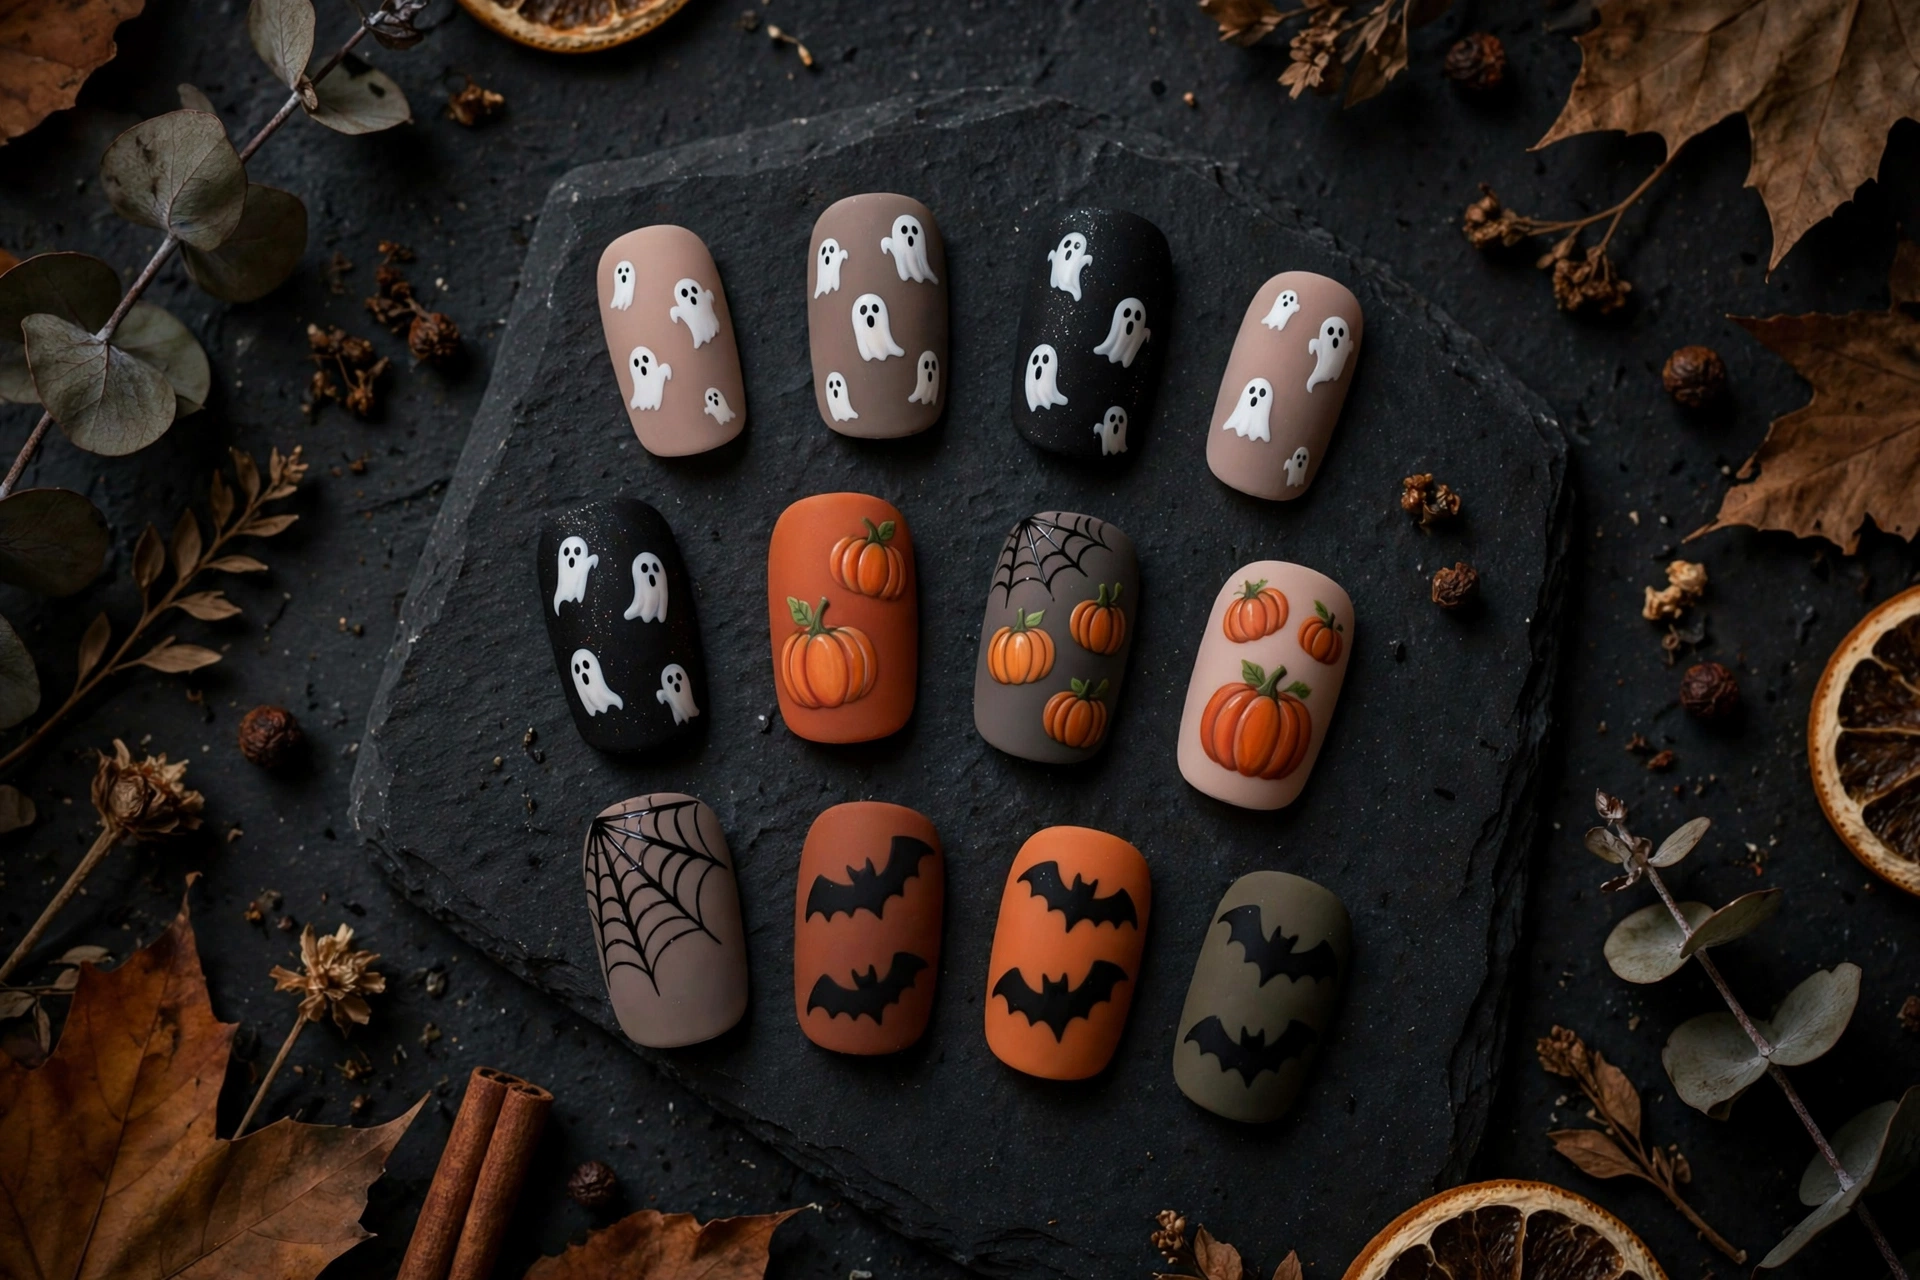

Halloween nails are an easy way to bring a little spooky style to your October outfits, whether you love creepy black designs, cute ghost art, or glittery orange tips. With Halloween falling on Saturday, October 31, 2026, you have plenty of options for a party manicure, a costume-inspired look, or a simple design you can wear throughout the week.
You don’t need long extensions or an expensive salon appointment to get the look. From detailed spiderweb nail art to ready-to-wear Halloween fake nails, these ideas cover different lengths, budgets, and styles so you can find a design that suits your plans.
1. 25+ Halloween nail ideas for 2026
The best Halloween manicure is one that matches your costume, personal style, and the amount of time you want to spend on your nails. Use these specific designs as inspiration for a DIY manicure or show your favorite idea to a nail technician.
Classic spooky Halloween nails
These designs are ideal if you want unmistakable Halloween details, from traditional pumpkins to darker, horror-inspired patterns.
- Blood-red French tips: Pair a nude base with deep red tips and a few fine drips for a dramatic finish.
- Black cat-eye nails: Use black polish with a magnetic shimmer for a dark, reflective effect.
- Spiderweb corners: Paint thin white or silver webs in one corner of a glossy black nail.
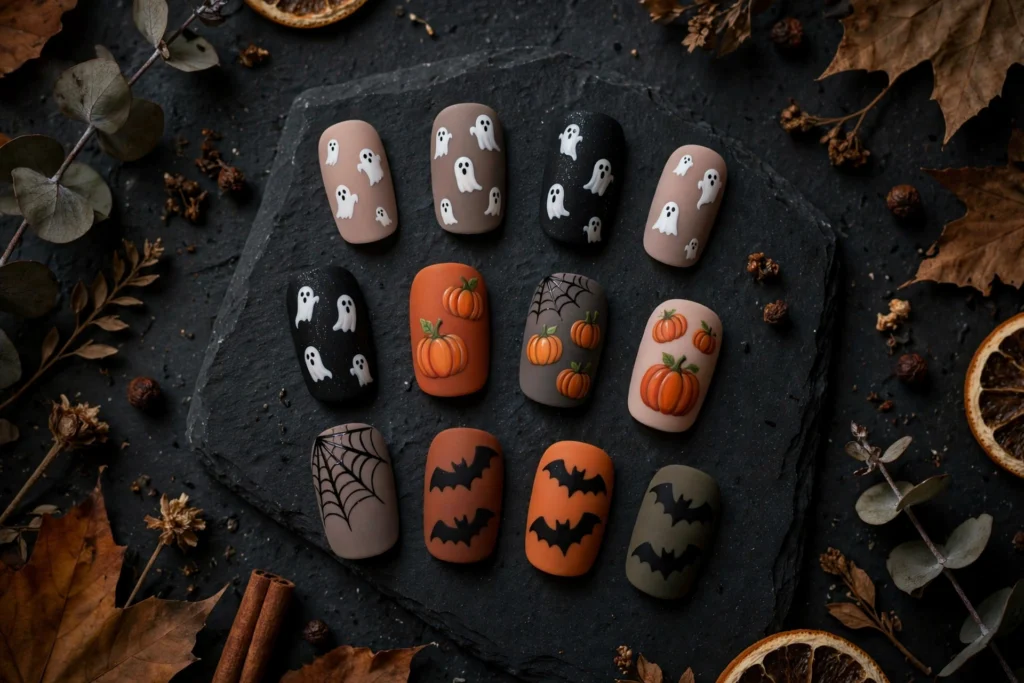
- Orange pumpkin nail art: Add tiny orange pumpkins with green stems over a beige or black base.
- Floating ghost nails: Paint small white ghosts on a sheer nude base, using black dots for their eyes.
- Bat silhouette manicure: Place tiny black bats against a pale orange or moonlit gray background.
- Graveyard at midnight: Create black gravestones and silhouettes against a deep purple night-sky background.
- Bloody drip accent: Keep most nails solid burgundy and add a red drip pattern to one accent nail.
- Mummy wrap nails: Use narrow off-white lines over a beige base, leaving small spaces for dark eyes.
- Haunted house silhouettes: Paint a black haunted house, crooked windows, and a tiny moon on one feature nail.
Cute and playful Halloween nails
Choose these if you prefer friendly characters, bright colors, and designs that feel festive rather than frightening.
- Candy corn stripes: Layer white, orange, and yellow sections for the classic triangular candy-inspired look.
- Pastel ghosts: Use lavender, baby pink, and pale blue backgrounds with small white ghost shapes.
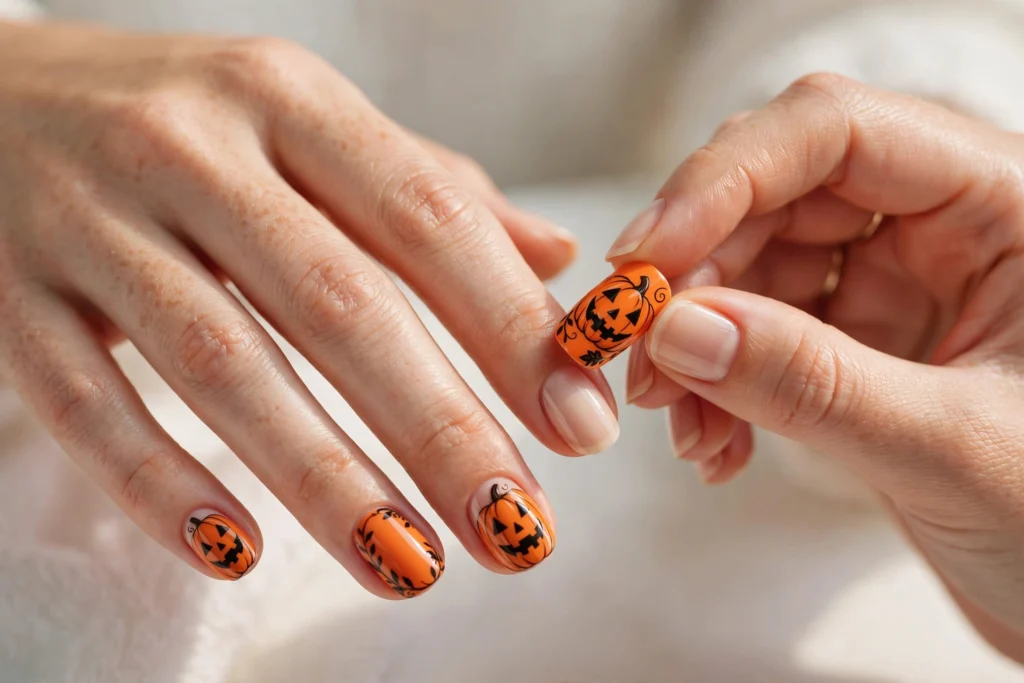
- Smiling pumpkins: Add orange pumpkins with friendly faces over a creamy neutral base.
- Boo! lettering: Write tiny “BOO!” details on one or two nails, keeping the remaining nails a solid color.
- Witch’s hat accents: Paint small black pointed hats with purple bands against a light background.
- Halloween confetti: Scatter tiny stars, dots, moons, and pumpkin decals over a sheer base.
- Cute black cats: Add small cat faces with pointed ears, whiskers, and bright eyes on an orange or nude background.
Dark and glam Halloween nails
For evening parties and dramatic costumes, combine rich shades with reflective finishes, texture, or metallic details.
- Black chrome nails: Use a compatible chrome powder system over the appropriate base to create a metallic black finish.
- Midnight glitter: Layer fine silver glitter over deep navy or black polish.
- Matte black with glossy webs: Finish the base with a matte top coat, then add shiny black spiderwebs for a subtle contrast.
- Purple jewel-tone nails: Pair rich plum or violet polish with tiny crystal-like accents.
- Black-and-burgundy ombré: Blend deep red into black for a smoky, dramatic gradient.
- Silver moon manicure: Add silver moons and stars over a dark charcoal base.
- Gothic coffin nails: Use a coffin shape with black polish, dark red accents, and delicate metallic line work.
Minimalist Halloween nails
You can keep Halloween nail art subtle by choosing one small detail instead of decorating every nail.
- Single ghost accent: Paint one tiny ghost on an otherwise sheer pink manicure.
- Micro spiderweb: Add a fine black web to one corner of a short nude nail.
- Tiny orange French tips: Replace traditional white tips with a narrow Halloween-orange line.
- One black bat: Place a single bat silhouette on a pale gray or cream accent nail.
- Mini pumpkin dots: Paint two or three tiny orange pumpkins on one nail and keep the others neutral.
- Black star details: Add miniature black stars over a clear or pale pink base for a subtle seasonal finish.
Quick tip: Bring a reference photo to your nail appointment and ask the technician to adapt the design to your preferred length. Fine spiderwebs, lettering, and miniature characters usually need more precision than simple color-blocking or decals.
2. Halloween fake nails: the 10-minute route
If you need a festive manicure without sitting through a full salon appointment, Halloween fake nails can be a practical choice. Ready-made press-on nails come in seasonal colors, patterns, and shapes, so you can get a coordinated look without having each detail painted individually.
Look for fake nails for Halloween in styles such as black-and-orange French tips, ghost prints, pumpkin patterns, spiderwebs, or glittery coffin shapes. Some sets are designed for one evening, while others can be worn for several days with the appropriate application method.
Glue-on or stick-on nails?
Glue-on Halloween nails: Nail glue made specifically for artificial nails can provide a longer hold when applied correctly and used according to its instructions.
Halloween stick-on nails: Adhesive tabs are convenient for a party night because they are quick to apply and generally easier to remove.
Decorated press-ons: Pre-designed nails are useful when you want detailed nail art without painting every pattern yourself.
A careful application can take around 10 minutes once you have selected the right sizes and prepared your nails. That is an estimate, not a guarantee; complex sets and first-time applications can take longer.
Drugstore seasonal press-on sets commonly cost around $8–$15 in the US, while custom salon Halloween nail art can start around $50 or more, depending on the design and location.
You can also check seasonal costume retailers such as Spirit Halloween, which stocks costume nails during the October shopping season. Availability and designs vary by store and year.
If you are searching for halloween nails near me, choose a salon if you want custom sculpted art, hand-painted characters, or a specific extension shape. For a single party night, a ready-made press-on set or a simple DIY manicure may be more convenient and budget-friendly.
3. Kiss, imPRESS, Ohora & Olive and June: Halloween press-on picks worth knowing
Not every seasonal nail set offers the same application method or finish. Some are designed to be glued on, some use built-in adhesive, and others are made for a different type of manicure. Check the product label before buying so you know what you are getting.
KISS Halloween nails
KISS is worth checking if you want traditional artificial nails in Halloween-inspired colors and patterns. Depending on the seasonal collection, you may find black tips, spooky graphics, glitter, or costume-inspired designs.
Searches for KISS Halloween press-on nails and KISS nails Halloween can help you compare available sets, but seasonal styles change. Check the number of nails included, sizing options, application instructions, and whether nail glue is supplied.
imPRESS Halloween nails
imPRESS is associated with pre-designed press-on nails that use adhesive rather than requiring a separate bottle of nail glue in the usual application process. This can make them convenient for a short event or a last-minute costume.
Look for imPRESS Halloween nails if you want a quick application. Confirm the product’s current instructions and expected wear time, and choose sizes that fit your nails without overlapping the surrounding skin.
Ohora Halloween nails
Ohora is known for semi-cured gel nail strips rather than conventional rigid press-on extensions. If you find Ohora Halloween nails, check whether the particular set requires lamp curing and follow its product-specific instructions.
These strips are a different option from traditional glue-on fake nails. Do not assume that every Halloween-themed strip uses the same application or removal process as a standard press-on set.
Olive & June Halloween options
Olive & June offers nail products and manicure options that may include seasonal colors or designs, depending on the collection. Search for Olive & June Halloween styles if you prefer a coordinated manicure with a less costume-heavy look.
Availability varies, so confirm that the specific product is actually a Halloween-themed set rather than an ordinary polish shade or general nail accessory.
Which brand should you choose?
For traditional decorated artificial nails, start by comparing the current KISS options. If quick adhesive application is your priority, look at imPRESS. If you prefer semi-cured gel strips, check whether Ohora has a suitable seasonal design. Consider Olive & June if its available colors or nail products match your preferred look.
These are product categories to compare, not a guarantee that every brand has a dedicated Halloween collection available in 2026. The searches KISS Halloween nails, KISS imPRESS Halloween nails, and Halloween KISS nails can help narrow down the styles you want.
4. Disney Halloween nail designs
Disney-inspired Halloween manicures combine recognizable characters with traditional spooky details. You can create a subtle character reference on one accent nail or build a coordinated set around a favorite movie.
For Disney nails Halloween inspiration, choose a color palette and one or two recognizable details rather than overcrowding every nail. These ideas can be adapted to short natural nails, polish, or ready-made press-ons.
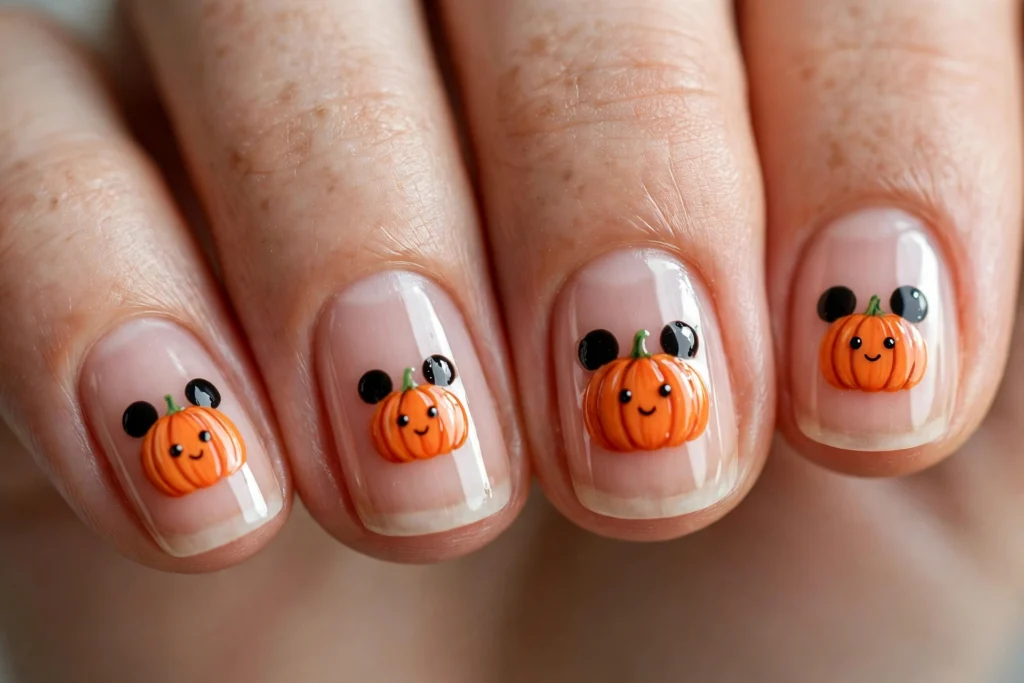
1. Mickey pumpkin nails
Use orange polish for small pumpkins and add round black ears to create a Mickey-inspired silhouette. A neutral background keeps the design clear without requiring detailed artwork on every finger.
2. Minnie Halloween bows
Pair black or red nails with small bow details and tiny white dots. Add one pumpkin or ghost accent if you want a stronger Halloween theme.
3. Nightmare Before Christmas-inspired nails
Try black-and-white stripes, stitched patterns, tiny bats, and a moonlit background inspired by the film’s gothic visual style. A single feature nail can carry the most detailed artwork.
4. Haunted mansion-inspired nails
Use deep purple, charcoal, and muted green with tiny portraits, ornamental frames, or ghostly silhouettes. Keep the other nails simple so the fine details remain visible.
5. Villain-inspired colors
Build a manicure around a Disney villain’s recognizable color palette. Deep purple and green can create a dramatic look, while black and red offer a more classic spooky combination.
6. Disney Halloween nails for short lengths
Disney Halloween nails short designs work best when the artwork stays simple. Try a single Mickey pumpkin, a tiny ghost, a bow, or a miniature bat on one accent nail. Small decals can be easier to apply consistently than intricate hand-painted scenes.
A note on character artwork: For personal inspiration, bring a reference image to your nail technician and ask what they can recreate. If you are buying ready-made sets, check the product description and licensing information rather than assuming every character-themed design is officially licensed.
5. Short Halloween nails that still make a statement
Short nails can carry just as much seasonal personality as long extensions. The key is choosing designs that remain visible on a smaller surface and do not rely on extremely long tips for their effect.
If you want short Halloween press-on nails, consider these styles:
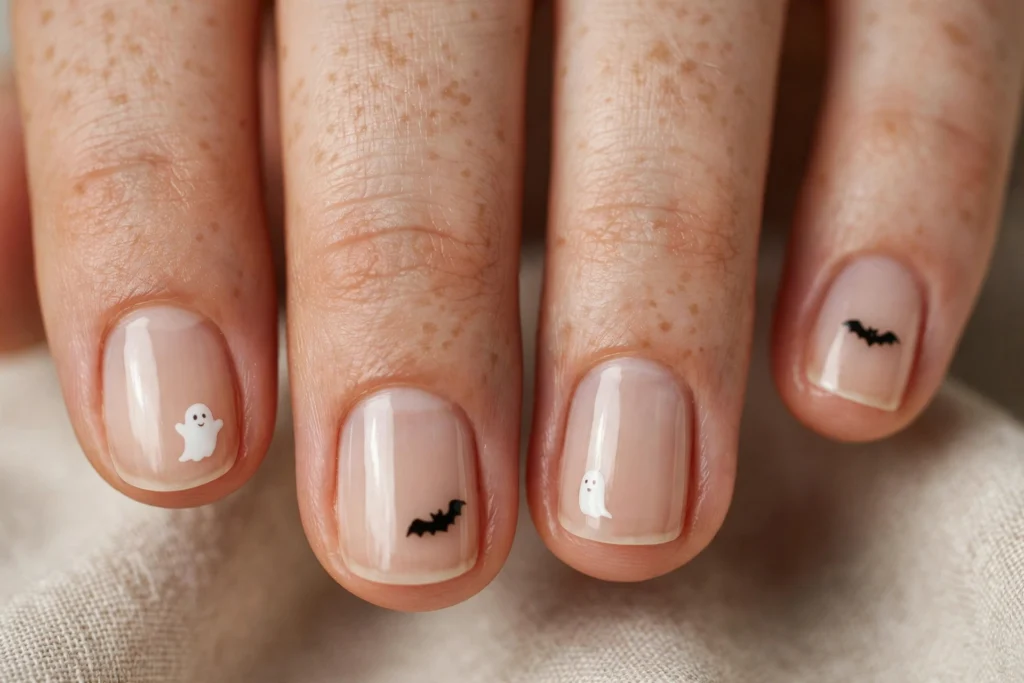
- Short black French tips: A neutral base with narrow black tips feels understated but distinctly spooky.
- Mini ghost decals: Place one or two tiny ghosts over sheer pink, beige, or pale gray polish.
- Pumpkin accent nails: Use orange pumpkins on one or two fingers, with the remaining nails in a solid dark shade.
- Candy corn color blocking: Use three simple color sections rather than detailed candy illustrations.
- Tiny bat silhouettes: A single black bat on a pale background creates contrast without crowding the nail.
- Short burgundy glitter: Add a fine glitter finish to deep red polish for an evening-ready look.
- Matte black dots and stars: Combine a matte base with small glossy details for texture.
For a natural nail manicure, regular polish and decals may be all you need. If you prefer extensions, choose a short, comfortable shape and make sure each artificial nail fits without pressing against the skin.
Acrylic or gel can also be used as a base for Halloween nail art, but neither is necessary for a short seasonal manicure. For a one-night event, simple polish or appropriately sized press-ons may be easier to manage.
6. How to apply, wear and remove them without wrecking your nails
Good preparation helps press-ons sit comfortably and reduces the temptation to force them off later. Before applying any new nail adhesive or product, perform a patch test according to the manufacturer’s instructions. A patch test reduces uncertainty but cannot rule out every possible reaction.
How to apply Halloween press-on nails
1. Clean your natural nails.
Remove old polish and wash your hands. Push back the cuticles gently without cutting living skin. Lightly buff the nail surface only if the product instructions call for it, and avoid thinning the natural nail.
2. Choose the right sizes.
Match each artificial nail to the width of your natural nail. If a nail overlaps the skin or puts pressure on the sides, choose another size or a better-fitting set.
3. Prepare the nail surface.
Use the preparation method specified by the product. Some systems recommend wiping the nail with alcohol before application. Allow the surface to dry completely before applying adhesive.
4. Apply glue or adhesive tabs.
Use nail glue formulated specifically for artificial nails, following the label. For adhesive-tab sets, apply the supplied tabs as directed. Never use hardware or craft super glue on your nails.
5. Press each nail into place.
Position the artificial nail carefully, then press it down for approximately 30 seconds if the product instructions recommend that timing. Avoid trapping air pockets or allowing adhesive to spread onto the surrounding skin.
How long do Halloween press-ons last?
Wear time depends on the adhesive, nail preparation, daily activities, and the manufacturer’s instructions. As general estimates, glue-on sets may last around 7–14 days, while adhesive-tab sets may last around 3–7 days. These are not guaranteed durations; a set worn for one party night may be all you need.
For an event, apply your nails with enough time to check the fit and comfort before leaving. Avoid prolonged soaking and follow the product’s instructions about water exposure.
Keep spare adhesive tabs or other manufacturer-approved repair supplies available if the product permits them. If a nail becomes loose, do not pull it off forcefully or apply household glue to reattach it.
How to remove press-on nails safely
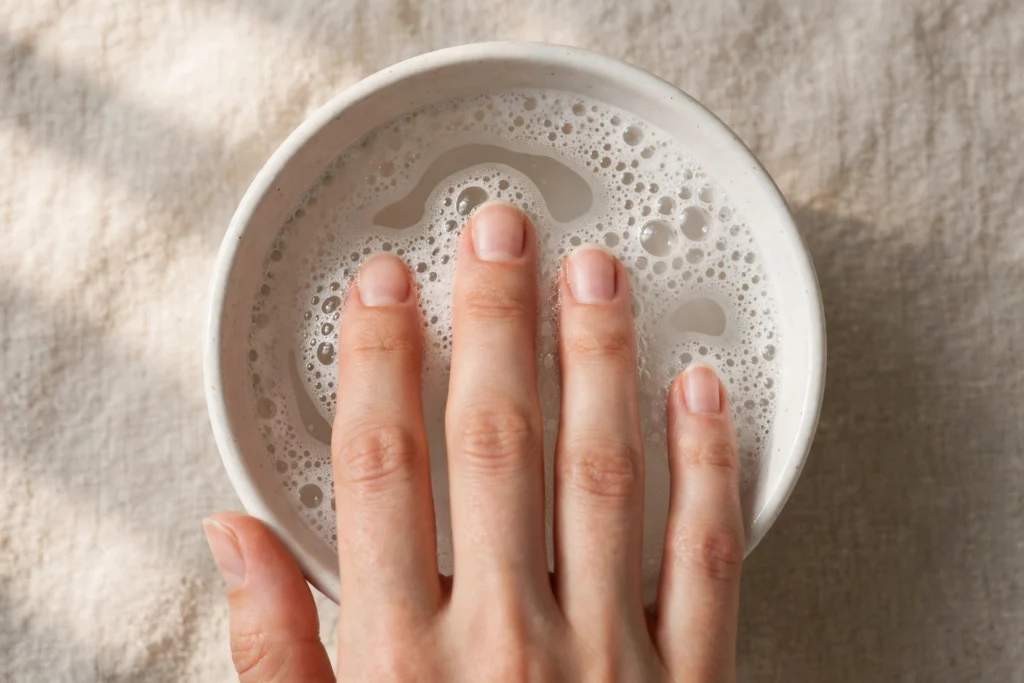
- Soak your fingertips: Start with warm, soapy water for approximately 10–15 minutes. Follow the product instructions if they specify another method.
- Check the edges: If the nail begins releasing, gently ease it from the sides without forcing it.
- Soak longer if necessary: If it resists, stop and continue soaking or use the manufacturer’s recommended removal method.
- Clean the natural nails: Once the press-ons have released, wash your hands and remove any remaining residue gently, following the adhesive instructions.
- Moisturize: Apply cuticle oil and hand cream after removal.
Never rip, pry, bite, or aggressively scrape off press-ons. Forcing them off can remove layers of the natural nail. If an artificial nail will not release, seek professional help rather than using force.
Do not cover a painful, swollen, discolored, or possibly infected nail with another artificial nail. Consult a dermatologist if you suspect a nail infection or notice persistent changes.
7. Frequently asked questions
How long do Halloween press-on nails last?
Glue-on Halloween press-on nails typically last around 7–14 days with good preparation, while adhesive-tab sets usually last 3–7 days. Actual wear time depends on your nail prep, daily activities, and the manufacturer’s instructions. For a single party night, either option works — apply them a few hours before the event so you can check the fit and comfort.
Can I wear Halloween nails if my nails are short?
Absolutely. Short Halloween press-on nails and simple designs like mini ghost decals, a single bat silhouette, or candy corn color blocking look great on shorter lengths. Keep the artwork small and focused on one or two accent nails rather than covering every nail with detailed scenes.
Which Halloween press-on nails are better: KISS or imPRESS?
It depends on your plans. KISS Halloween nails are traditional decorated artificial nails applied with nail glue, so they tend to last longer — a good pick if you want them to survive the whole Halloween week. imPRESS Halloween nails use pre-applied adhesive instead of a separate glue bottle, making them the fastest option for a last-minute costume or a one-night event.
How do I remove Halloween fake nails without damaging my natural nails?
Soak your fingertips in warm, soapy water for 10–15 minutes, then gently ease each nail off from the sides. Never rip, pry, or bite press-ons off — forcing them can tear layers off your natural nail. If a nail resists, soak longer or follow the manufacturer’s removal method, then moisturize with cuticle oil afterward.
Can you reuse Halloween press-on nails?
Often, yes. If you removed them gently by soaking rather than ripping, clean off any glue residue and store them in their original packaging. You will need fresh adhesive — new nail glue or replacement adhesive tabs — for the next wear. Sets applied with tabs are generally easier to reuse than heavily glued sets.
Last reviewed: October 2026 — Editorial Team, Polish Haven
[…] week, book a salon appointment one to two weeks ahead. For more Halloween-specific inspiration, the dedicated Halloween nail guide explores this occasion in greater […]