
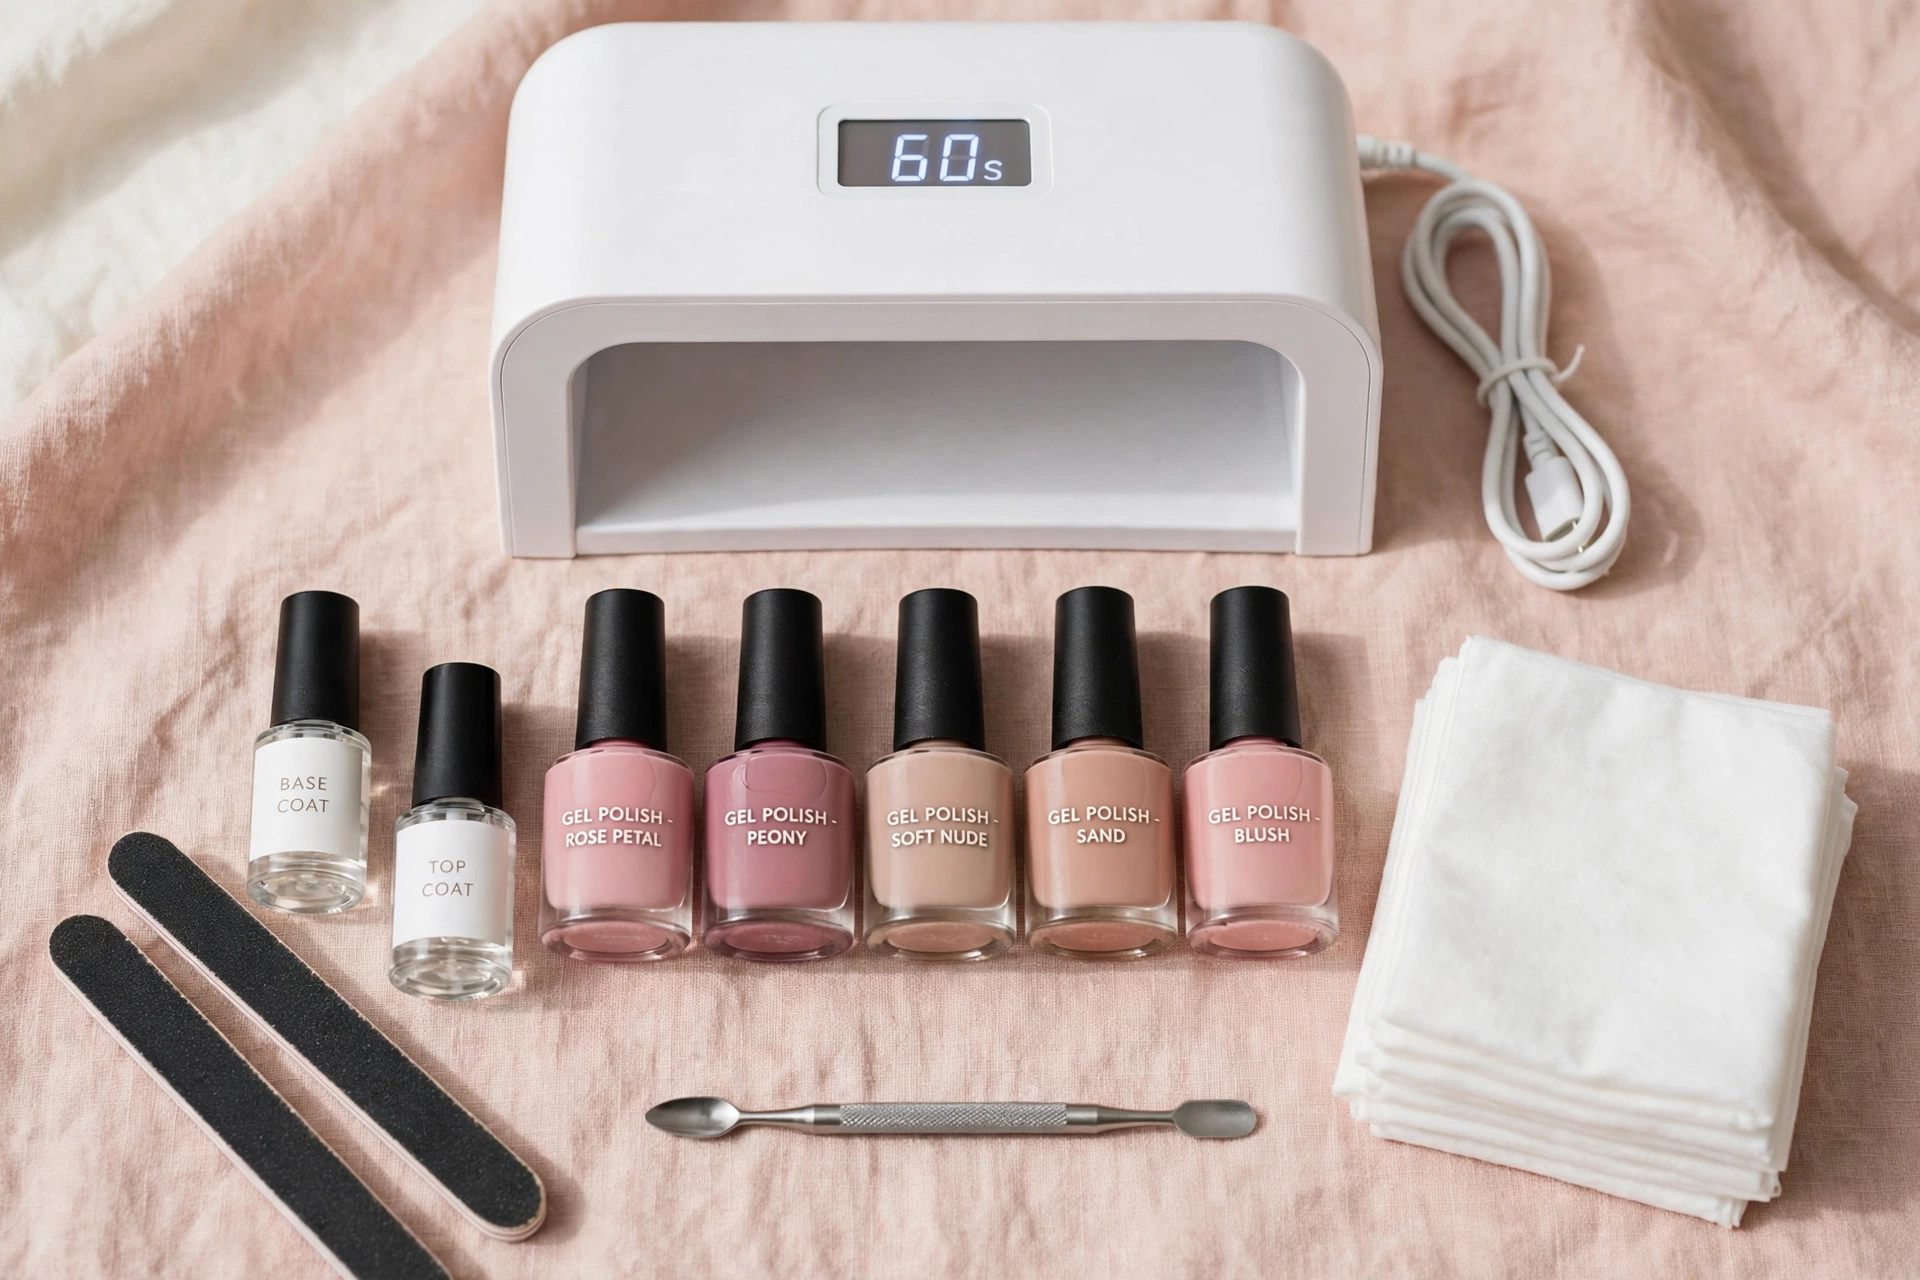
A gel nail kit typically includes a gel base coat, colored gel polish, a top coat, a compatible UV or LED lamp, and basic nail-prep tools. Choosing the right kit is only half the job: the polish must be applied in thin layers and fully cured with a suitable lamp to help prevent peeling, tackiness, and avoidable skin exposure — a topic we cover in depth at Polish Haven.
What is a gel nail kit?
A gel nail kit is a set of products and tools for applying gel polish at home. Unlike regular nail polish, which dries as its solvents evaporate, gel polish hardens through a light-triggered chemical reaction called curing. A compatible UV or LED lamp is therefore essential for traditional lamp-cured gel polish.
A basic kit is designed for coating natural nails with a base, color, and top coat. Depending on the package, it may include a few colors, a nail file, a buffer, cleanser, lint-free wipes, and cuticle-care products.
With correct application and care, a gel manicure often lasts around two weeks, although wear varies with nail growth, daily activities, product compatibility, and application technique. A kit is not automatically better because it contains more colors or advertises a higher wattage.
What’s inside a gel nail kit?
The core components each have a specific job:
- Gel base coat: Helps the color layer adhere to the prepared nail. Use the base coat specified for the gel system.
- Gel color polish: Provides the color. Two thin coats are common, but follow the product’s directions.
- Gel top coat: Seals the color and creates the finish. A no-wipe top coat is formulated to finish without the usual tacky surface layer.
- UV or LED lamp: Supplies the light needed to cure the gel. It must be compatible with the products.
- Nail file and buffer: Help shape the free edge and prepare the nail surface when the product instructions call for it. Avoid aggressive buffing.
- Cuticle pusher: Helps gently move back nonliving cuticle tissue. Do not cut living skin around the nail.
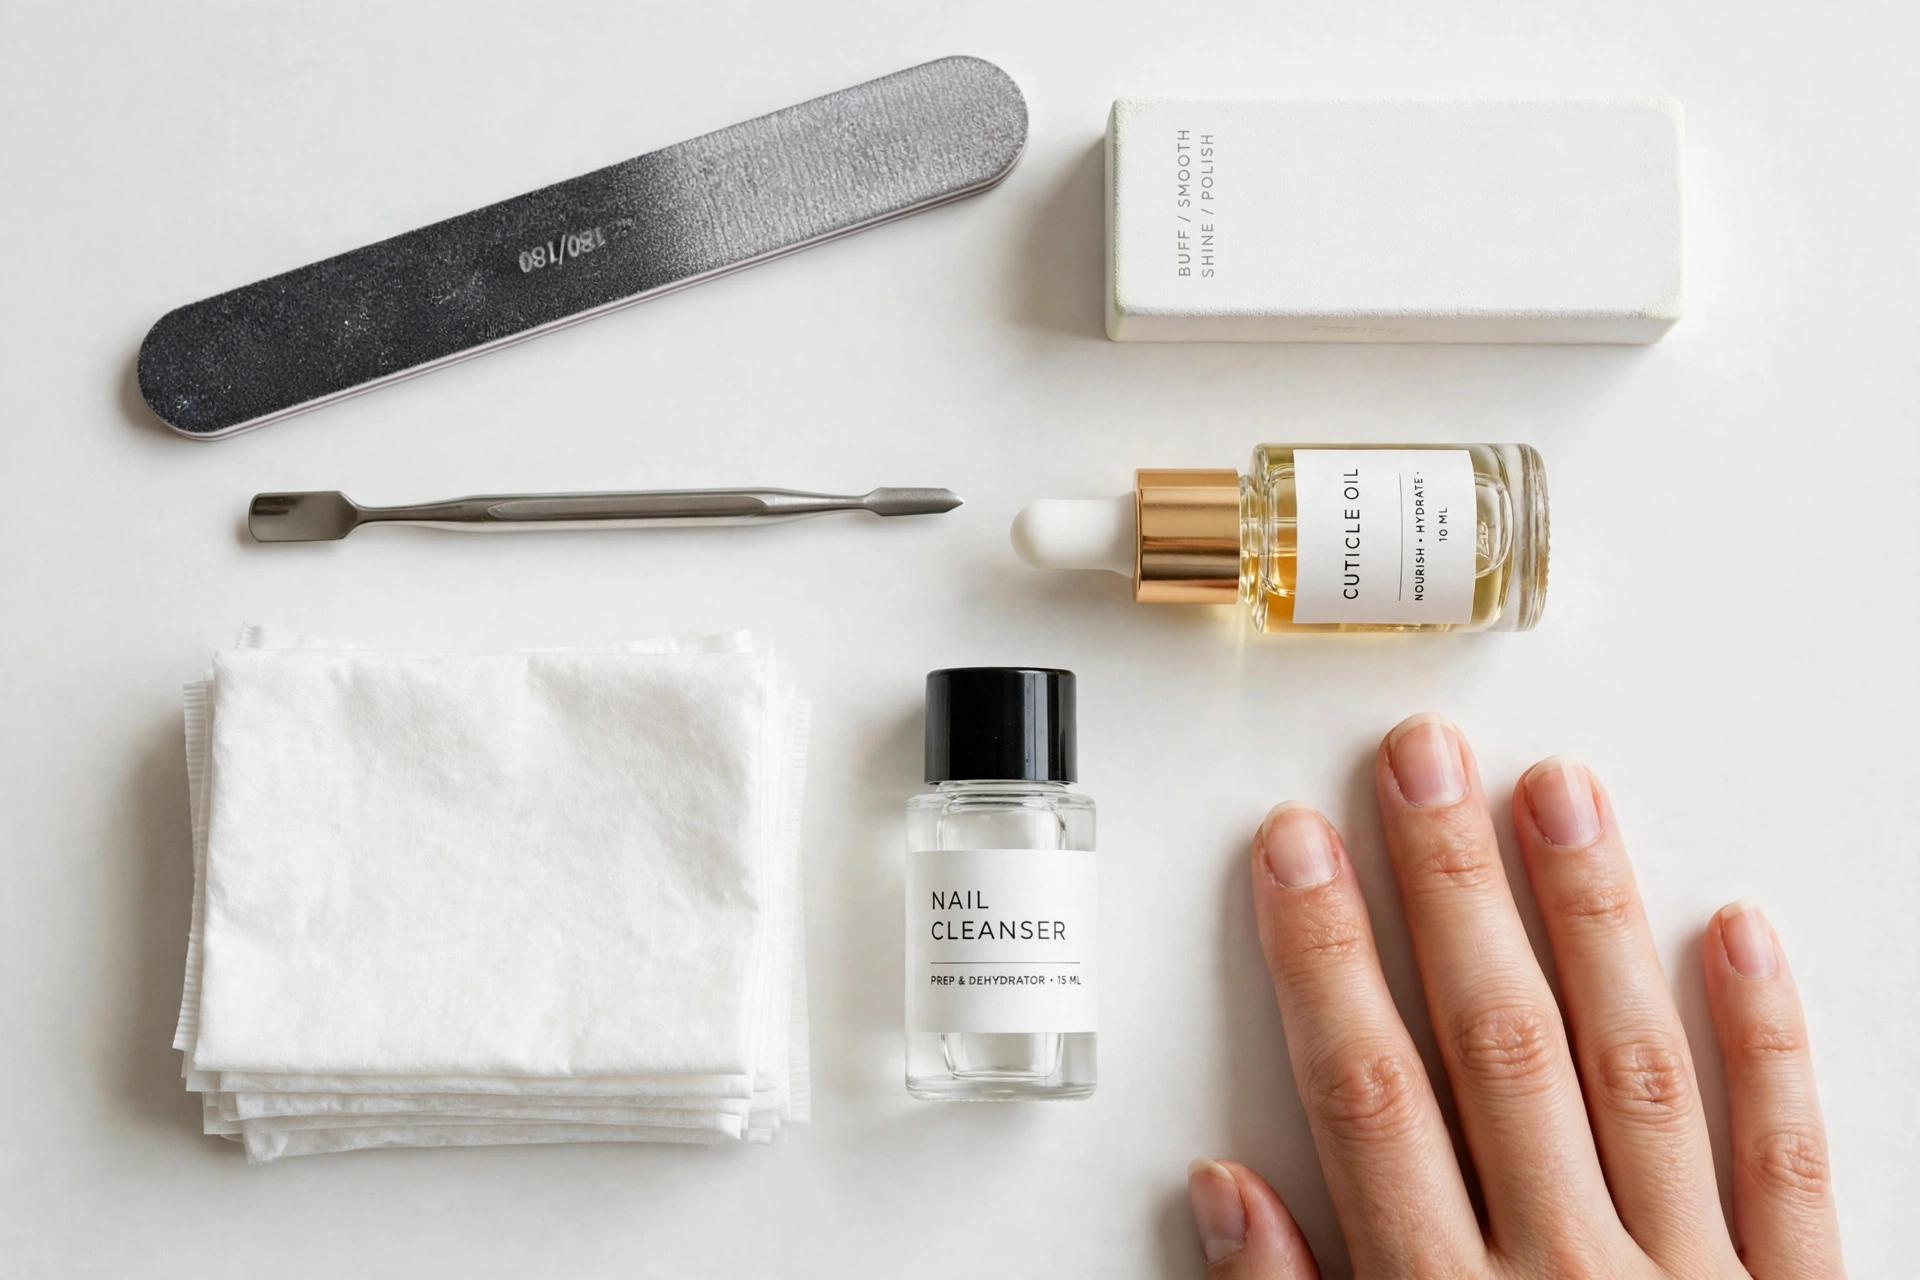
- Cleanser and lint-free wipes: Remove surface residue when required and prevent loose fibers from sticking to the gel.
- Dehydrator or primer: May be included in more advanced kits. These are different products, and neither should be allowed to contact surrounding skin.
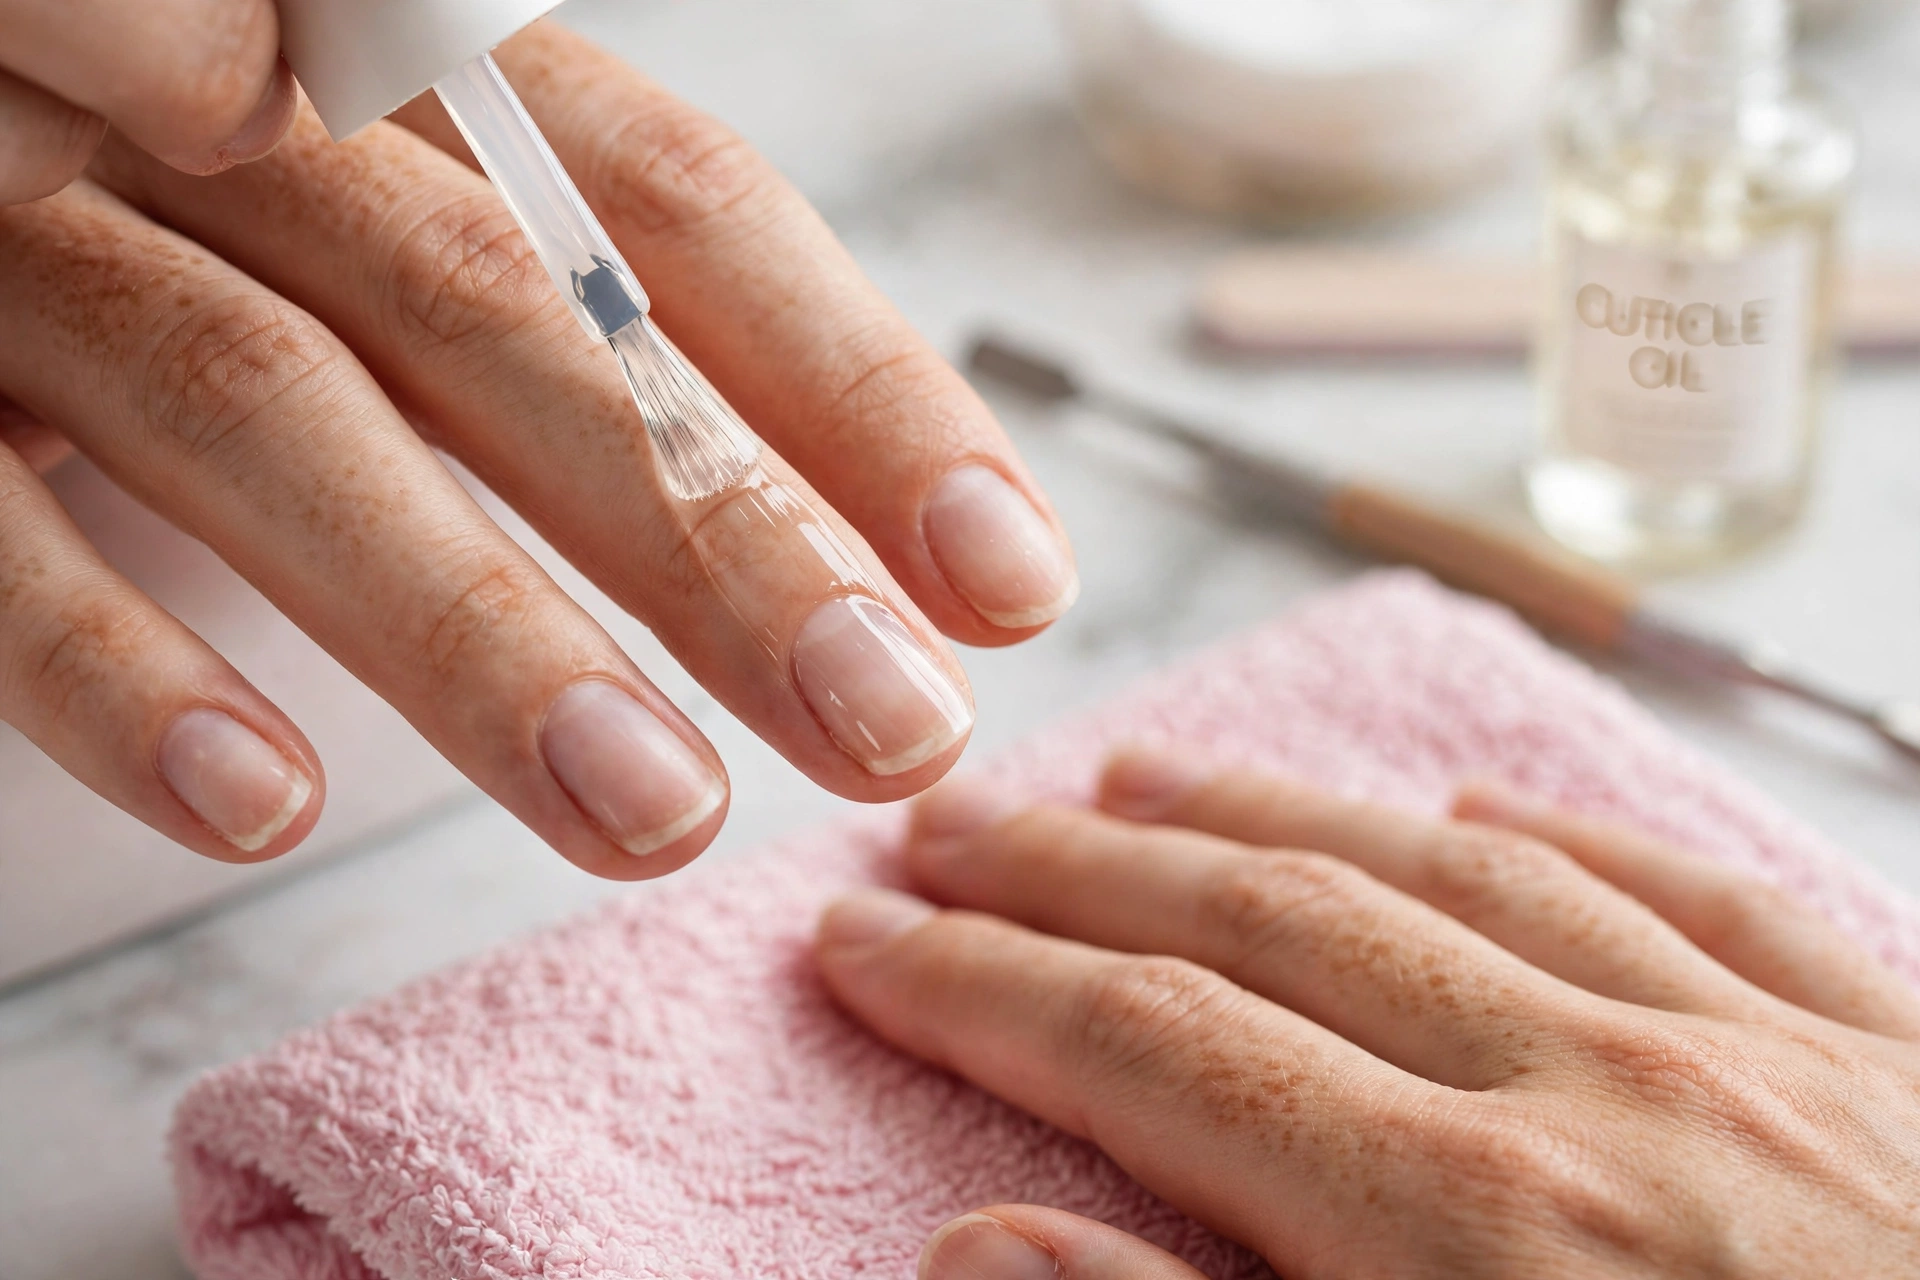
- Cuticle oil: Helps condition the skin around the nails after the manicure is finished.
Beginner vs professional gel kits
| Kit type | What’s included | Best for | Watch out for |
|---|---|---|---|
| Beginner kit | Base, top coat, a few colors, lamp, basic prep tools | First-time users who want a simple system | Check lamp compatibility and whether cleanser is included |
| Expanded home kit | More colors, additional prep liquids, sometimes builder gel | Regular DIY users who understand the basics | Extra products mean more instructions to follow |
| Professional-style kit | A broader product range, potentially builder gel, dehydrator, primer, and a higher-powered lamp | Experienced users familiar with gel systems | More products do not replace training or correct curing |
Choose a kit with clear instructions, a suitable lamp, and the essentials you will actually use. A large set with many colors is less useful if the lamp is incompatible or the instructions do not specify cure times.
UV vs LED lamps: what actually matters
Both UV and LED nail lamps use ultraviolet wavelengths to trigger the photoinitiators in gel polish. These ingredients absorb light and start the chemical reaction that hardens the coating. The term LED describes the light source; it does not mean the lamp is free of UV radiation.
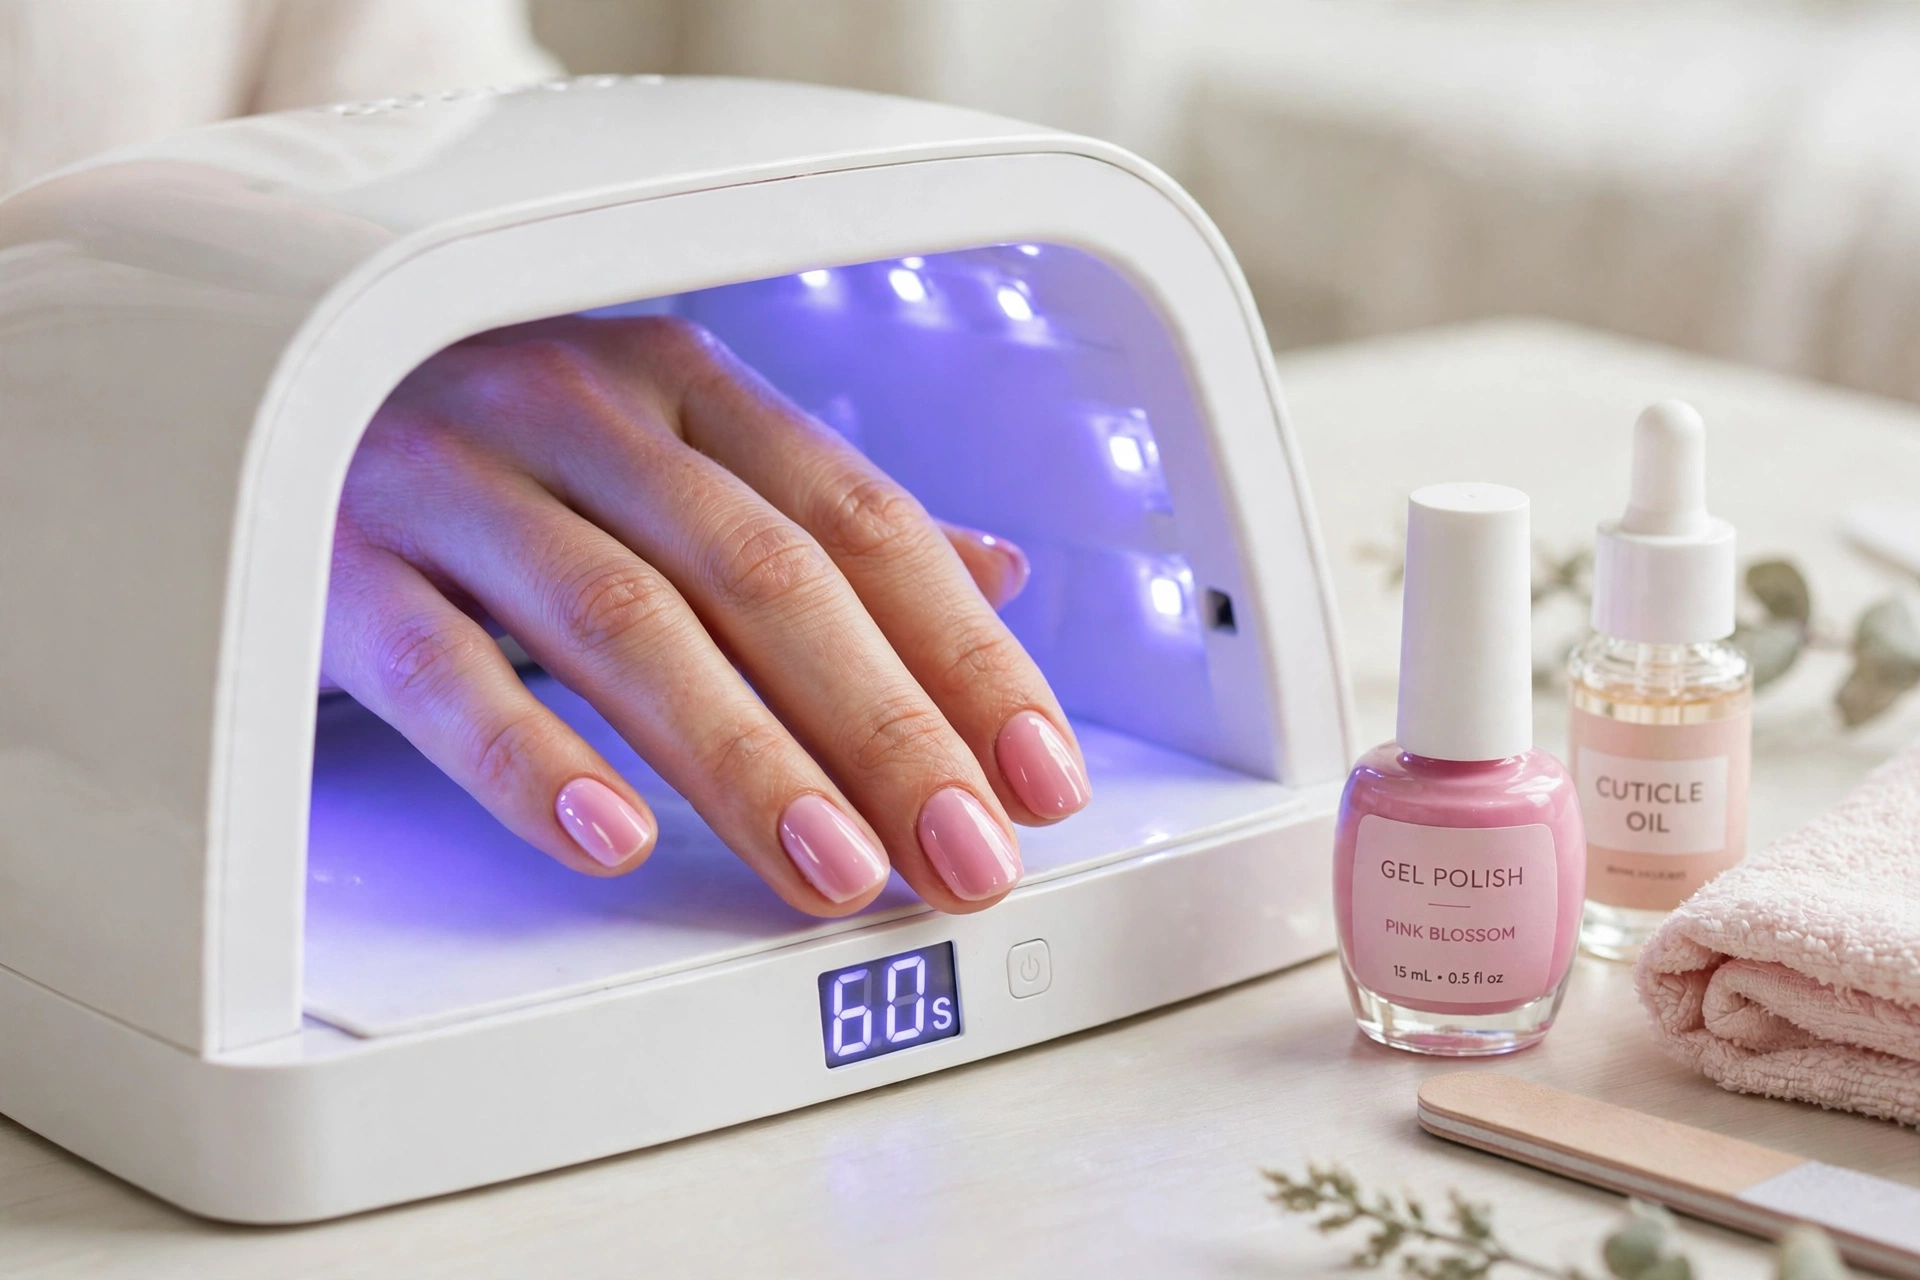
Most LED lamps cure many gel polishes in about 30–60 seconds per layer, while older UV lamps commonly take around two minutes. These are general ranges, not universal settings. Always follow the cure time and lamp requirements provided for your particular gel.
Wattage is only one part of lamp selection. A 36–48W lamp is a practical range to consider for home use, but a higher number alone does not prove that the lamp will cure a particular formula correctly. The emitted wavelengths, lamp design, product formulation, hand placement, and required exposure time all matter.
Before buying a lamp, check:
- Whether the gel manufacturer specifies a UV, LED, or dual-light lamp.
- Whether its timer settings match the gel instructions, such as 30-second, 60-second, or low-heat modes.
- Whether all five nails can sit flat under the light without fingers overlapping or thumbs being left at an angle.
- Whether the lamp’s interior is clean and the light source is in good condition.
Can you use any gel polish with any lamp? No. Some gels require a particular wavelength range or a compatible lamp system. A lamp that switches on and appears bright does not prove that the gel is fully cured. Use the lamp recommended by the gel manufacturer rather than mixing products and equipment at random.
How gel polish cures — and why full curing matters
Gel polish cures when light activates its photoinitiators, creating a reaction that turns the liquid coating into a hardened film. Each layer needs the specified exposure. A surface that looks dry or firm does not necessarily mean the entire layer has cured properly.
Apply thin layers. Thick coats are a common reason gel wrinkles, peels, or remains under-cured. Light may harden the upper surface while material underneath remains insufficiently cured. Apply a thin base coat, thin color coats, and a thin top coat, curing each as directed.
Many gel products also leave a sticky surface called an inhibition layer. This can be normal: oxygen at the surface interferes with the curing reaction, leaving a tacky layer even after the rest of the coating has cured. If the product calls for it, wipe this layer after the final cure with the specified cleanser and a lint-free wipe. A no-wipe top coat is designed to skip that step. Do not assume that every sticky layer is harmless residue; if the gel is soft, wrinkled, or visibly wet, do not simply wipe it and carry on.
Some builder gels or thicker layers can create a brief warmth or “heat spike” during curing. If the sensation hurts, remove your hand from the lamp, allow the nail to cool, and follow the product’s instructions for a shorter or low-heat curing cycle. Do not push through pain.
The most important safety rule is to keep uncured gel, primer, and dehydrator off your skin and cuticles. Some gel ingredients, including acrylates such as HEMA when present, can trigger allergic contact reactions after skin exposure. Repeated exposure can make sensitization a lasting problem. Wipe accidental contact away before curing, using the product’s removal instructions, and cure each layer fully. Work in a ventilated area and patch-test new products according to their directions; a patch test does not make skin contact with uncured gel safe.
Gel polish vs soak-off gel vs hard gel vs soft gel
These labels describe different products and systems, so they should not be treated as interchangeable.
- Soak-off gel polish: A thin, colored coating applied much like regular polish. It is typically removed by soaking with acetone according to the product directions.
- Hard gel or builder gel: Used to add structure or build an overlay or extension, depending on the formula. Hard gel generally needs to be filed off rather than soaked off; do not assume every builder product behaves the same way.
- Soft gel tips: Full-cover tips attached using a compatible gel and cured under a lamp. Aprés Gel-X is one example of this system; it is not the same as an ordinary gel-polish kit.
- Regular nail polish: Air-dries rather than curing under a UV or LED lamp. Gel-effect polish that gives a gel-like look without a lamp is a different product from lamp-cured gel polish.
Most basic at-home gel nail kits contain soak-off gel polish. Read the labels before using a product, especially if the kit includes builder gel or enhancement products, because the application and removal methods can differ.
How to use a gel nail kit at home
Follow the instructions supplied with the exact kit. A compact routine looks like this:
- Prepare the nails. Shape the free edge, gently push back nonliving cuticle tissue, and remove dust. Avoid over-filing the natural nail.
- Clean and prep. Use the specified cleanser, dehydrator, or primer only if included or recommended. Let each product dry as directed and keep it off the skin.
- Apply a thin base coat. Avoid flooding the cuticle or sidewalls. Cure for the time specified by the product.
- Apply color in thin coats. Cure each coat separately. Two thin coats are often enough; adding more thickness is not a shortcut to better coverage.
- Apply the top coat. Seal the color without coating the surrounding skin, then cure fully.
- Finish as directed. If the top coat leaves an inhibition layer, wipe it with the recommended cleanser and a lint-free wipe. Apply cuticle oil after the gel process is complete.
Patch-test new products as directed, keep the work area ventilated, and stop if you develop a reaction. If gel touches your skin, remove it before curing instead of using the lamp to harden it in place.
Why at-home gel peels or stays tacky: the 7 most common mistakes
- Applying thick layers. Thick coats can cure unevenly, leaving softer material underneath. Use thin coats rather than trying to finish in one pass.
- Flooding the cuticles or sidewalls. Gel on skin can lift at the edges and increase allergy risk. Leave a small, neat gap and remove accidental contact before curing.
- Skipping nail prep. Dust, surface oil, or leftover moisture can affect adhesion. Follow the system’s prep directions without aggressively buffing the nail.
- Under-curing the gel. The wrong lamp, an incorrect timer, or a hand placed poorly under the light can leave gel insufficiently cured. Match the lamp and cure time to the product.
- Mixing products with unknown compatibility. A base coat, color, and top coat from different systems may not work well together. Use a matched system unless the manufacturers confirm compatibility.
- Using an old, weak, or unsuitable lamp. A light that turns on may still be unsuitable for the formula. Check the lamp instructions, condition, and compatibility rather than judging by brightness.
- Touching or wiping the tacky layer too early. Some gels need the inhibition layer left in place between coats, while others specify a wipe after the final cure. Follow the product sequence instead of wiping every layer automatically.
If the gel remains soft, wrinkled, or unusually wet after the instructed cure, do not add another coat or assume extra wiping will fix it. Avoid skin contact and follow the manufacturer’s removal guidance.
Gel kit vs salon gel manicure
A home kit can be convenient for someone who has the time to learn the process and can follow the product instructions carefully. A salon manicure costs more per visit, but a trained nail professional can help with product selection, application, lamp use, and removal.
At home, the initial kit purchase may cover multiple manicures, but ongoing costs can include replacement colors, prep liquids, wipes, and a suitable lamp. The process also takes practice: careful prep and thin, even layers are more important than speed.
A salon is a better choice if you want a complex enhancement, are unsure how to use builder gel, cannot avoid skin contact during application, or repeatedly experience lifting and curing problems. If your nails or surrounding skin appear infected or you suspect a nail condition, do not cover it with gel; consult a dermatologist.
Lamp & kit care, storage and safe removal
Store gel bottles away from sunlight and excess heat because light can start the curing reaction inside the bottle. Close caps securely and wipe bottle necks clean so product does not build up around the opening. Keep the lamp’s interior clean and follow the manufacturer’s care instructions.
For removal, use the method intended for that specific gel. For soak-off gel polish, many systems use acetone with cotton and foil or a soak bowl for roughly 10–15 minutes, though the required time varies. Once the product has softened, gently push it away as directed. If it resists, soak longer rather than peeling, biting, or prying it off; forceful removal can take layers of the natural nail with it.
An e-file can speed up removal, but untrained use can thin the natural nail quickly. Hard gel generally needs filing rather than acetone soaking, so identify the product before you begin. After removal, moisturize the nails and surrounding skin.
UV exposure from nail lamps accumulates over repeated sessions. Keep lamp sessions to the time required by the product, expose only the nails, and consider broad-spectrum sunscreen on the hands or UV-protective fingerless gloves. The American Academy of Dermatology offers additional gel manicure safety advice.
Frequently asked questions
Do I need a UV or LED lamp for gel nails?
Yes, traditional gel polish needs a compatible curing lamp. Many modern LED and dual-light lamps cure a wide range of gel polishes, but compatibility and cure time depend on the product. Follow the gel manufacturer’s lamp instructions rather than choosing by wattage alone.
Can I use any gel polish with any lamp?
No. Gel formulas use photoinitiators that respond to particular wavelengths and exposure conditions. If the lamp does not suit the formula, the coating may not cure adequately even if its surface feels firm. Use the lamp specified or approved by the gel manufacturer.
Why is my gel polish peeling off?
Common causes include thick coats, poor preparation, product on the cuticle, incompatible products, and under-curing. Check your application technique and lamp compatibility first. Do not solve peeling by applying thicker layers, and never pull off lifting gel.
How long does an at-home gel manicure last?
Around two weeks is a common expectation, but actual wear varies with nail growth, preparation, application, product formulation, and daily activities. A manicure that begins lifting early may point to a prep, compatibility, or curing issue rather than a need for more top coat.
Are UV nail lamps safe?
Nail lamps expose the skin to UV radiation, so exposure should be limited to the time needed to cure the product. Consider broad-spectrum sunscreen or fingerless UV-protective gloves, keep skin contact with uncured gel to a minimum, and follow the lamp instructions. If you have a condition that makes you sensitive to light, ask a healthcare professional for advice.
What is the difference between gel polish and soft gel (Gel-X)?
Gel polish is a colored coating applied over the natural nail. Soft gel tip systems attach full-cover tips to the nail using a compatible gel that is cured under a lamp. They involve different products and application steps, so an ordinary gel-polish kit may not contain everything needed for a soft gel tip system.
A good gel nail kit is one with compatible products, clear curing instructions, and the tools you need to prepare and remove the gel safely. Correct lamp use and thin layers matter more than a large color collection or a high wattage printed on the box.
Last reviewed: October 2026 — Editorial Team, Polish Haven