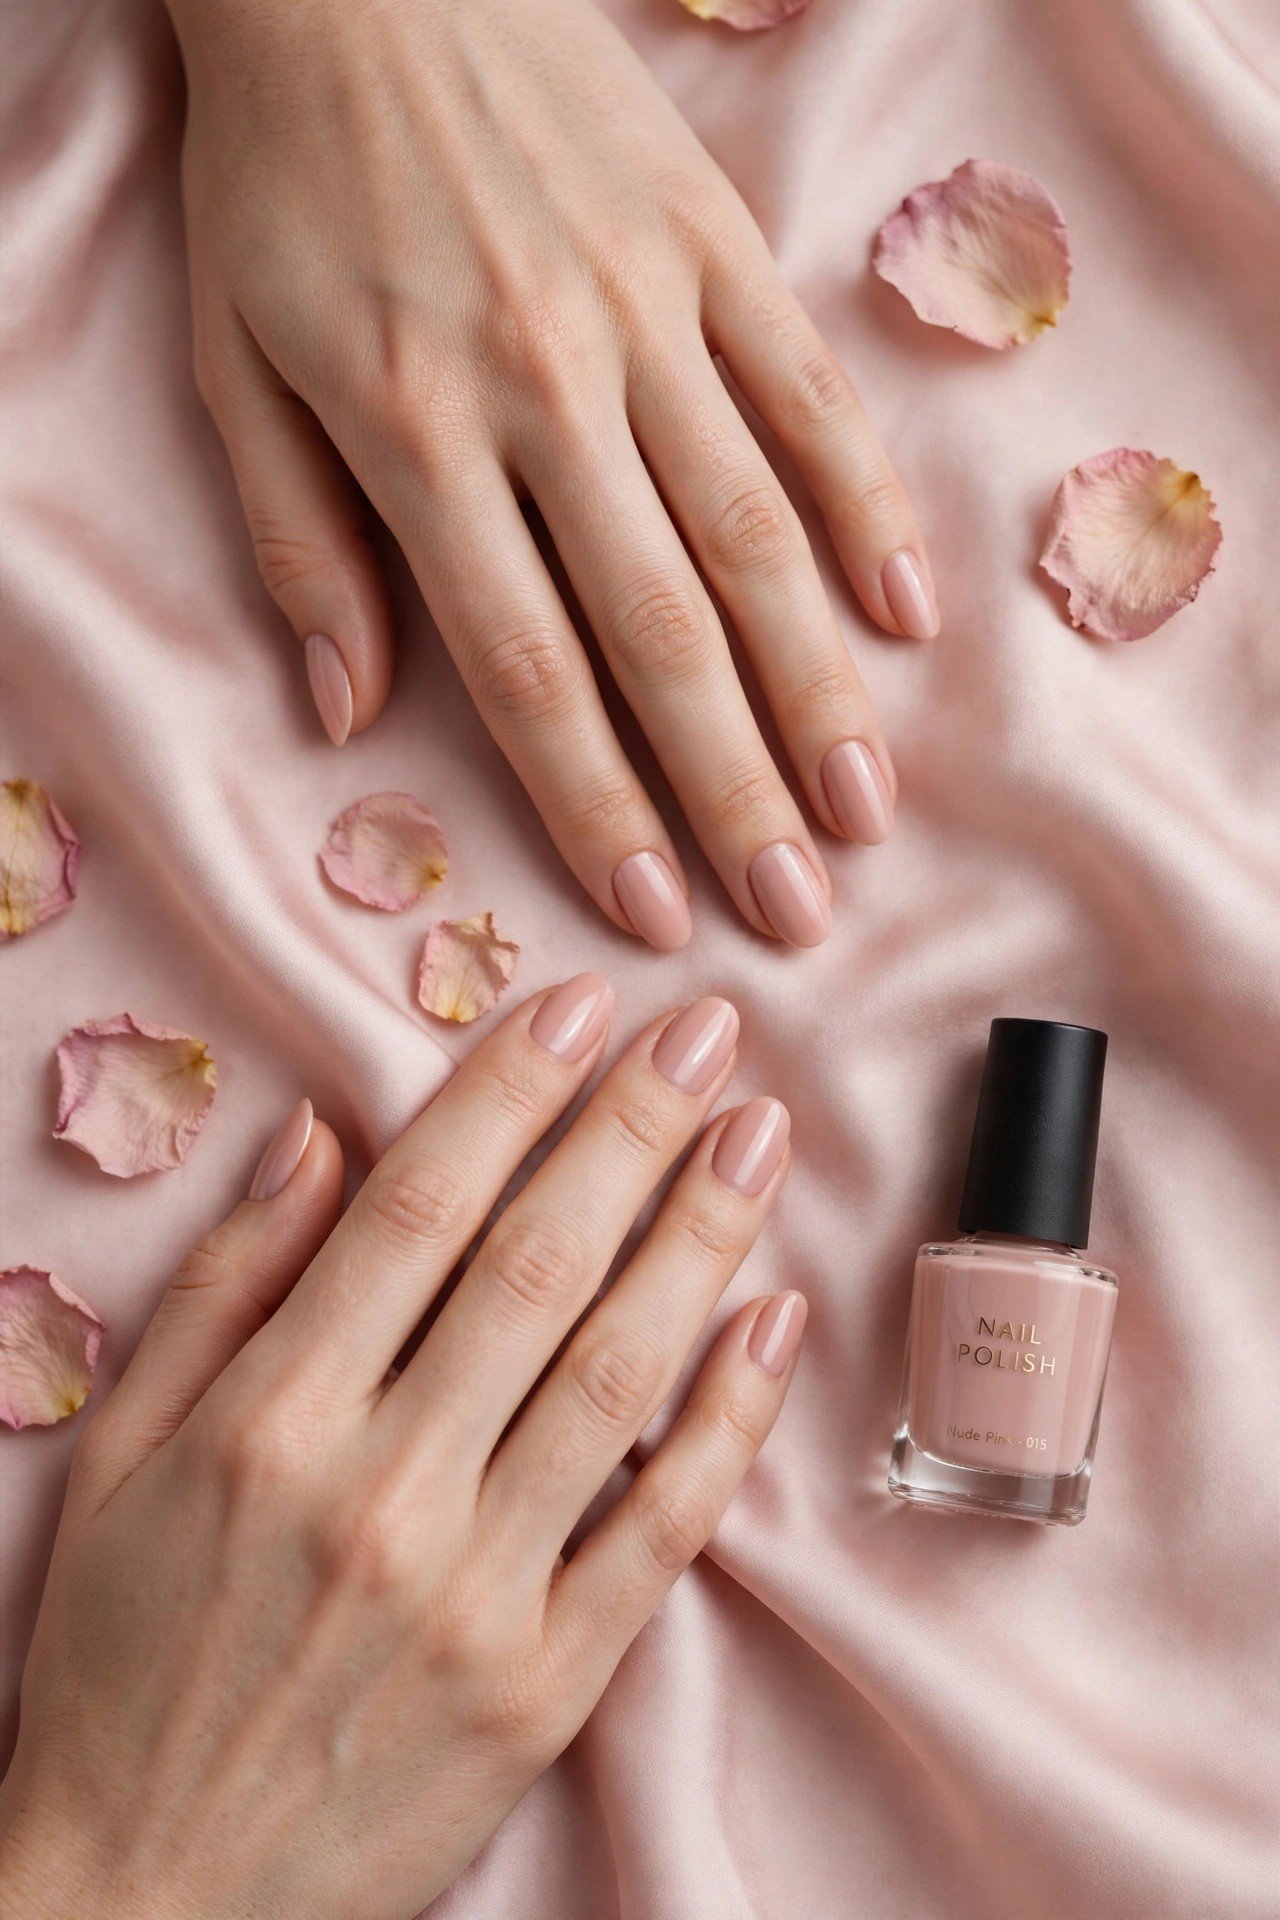

Oval nails have tapered sides and a softly curved tip that follows the natural arc of the nail, creating an elongated, elegant look. Round nails follow the fingertip's curve more closely, making them practical for shorter nails and everyday activities. Updated for October 2026, this guide explains how the two shapes differ, how to file them safely, and which designs, French tips, and colors flatter each shape.
What are oval nails?
Oval nails are shaped by filing the sides inward gradually and blending them into a smooth, rounded free edge. The finished nail resembles an oval rather than a circle: it has a little more length through the center and a gently tapered outline that mirrors the curve of the cuticle.
This nail shape works well on medium-length nails and can complement many nail-bed sizes. Its elongated outline can make fingers appear longer, particularly when paired with a sheer pink, nude, or neutral polish. Oval shape nails also provide a smooth canvas for French tips, subtle gradients, and designs that follow the nail's length.
Oval nails are a good choice if you prefer a refined shape without the sharp point of more angular styles. They do need enough free edge to create a balanced curve. If your nails are very short or tend to break at the sides, a round shape may be easier to maintain until they grow.
The best shape depends on your nail bed, natural growth pattern, desired length, and daily routine. Neither oval nor round is automatically more attractive; the goal is a shape that looks balanced and feels comfortable.
Oval vs round nails: what's the difference?
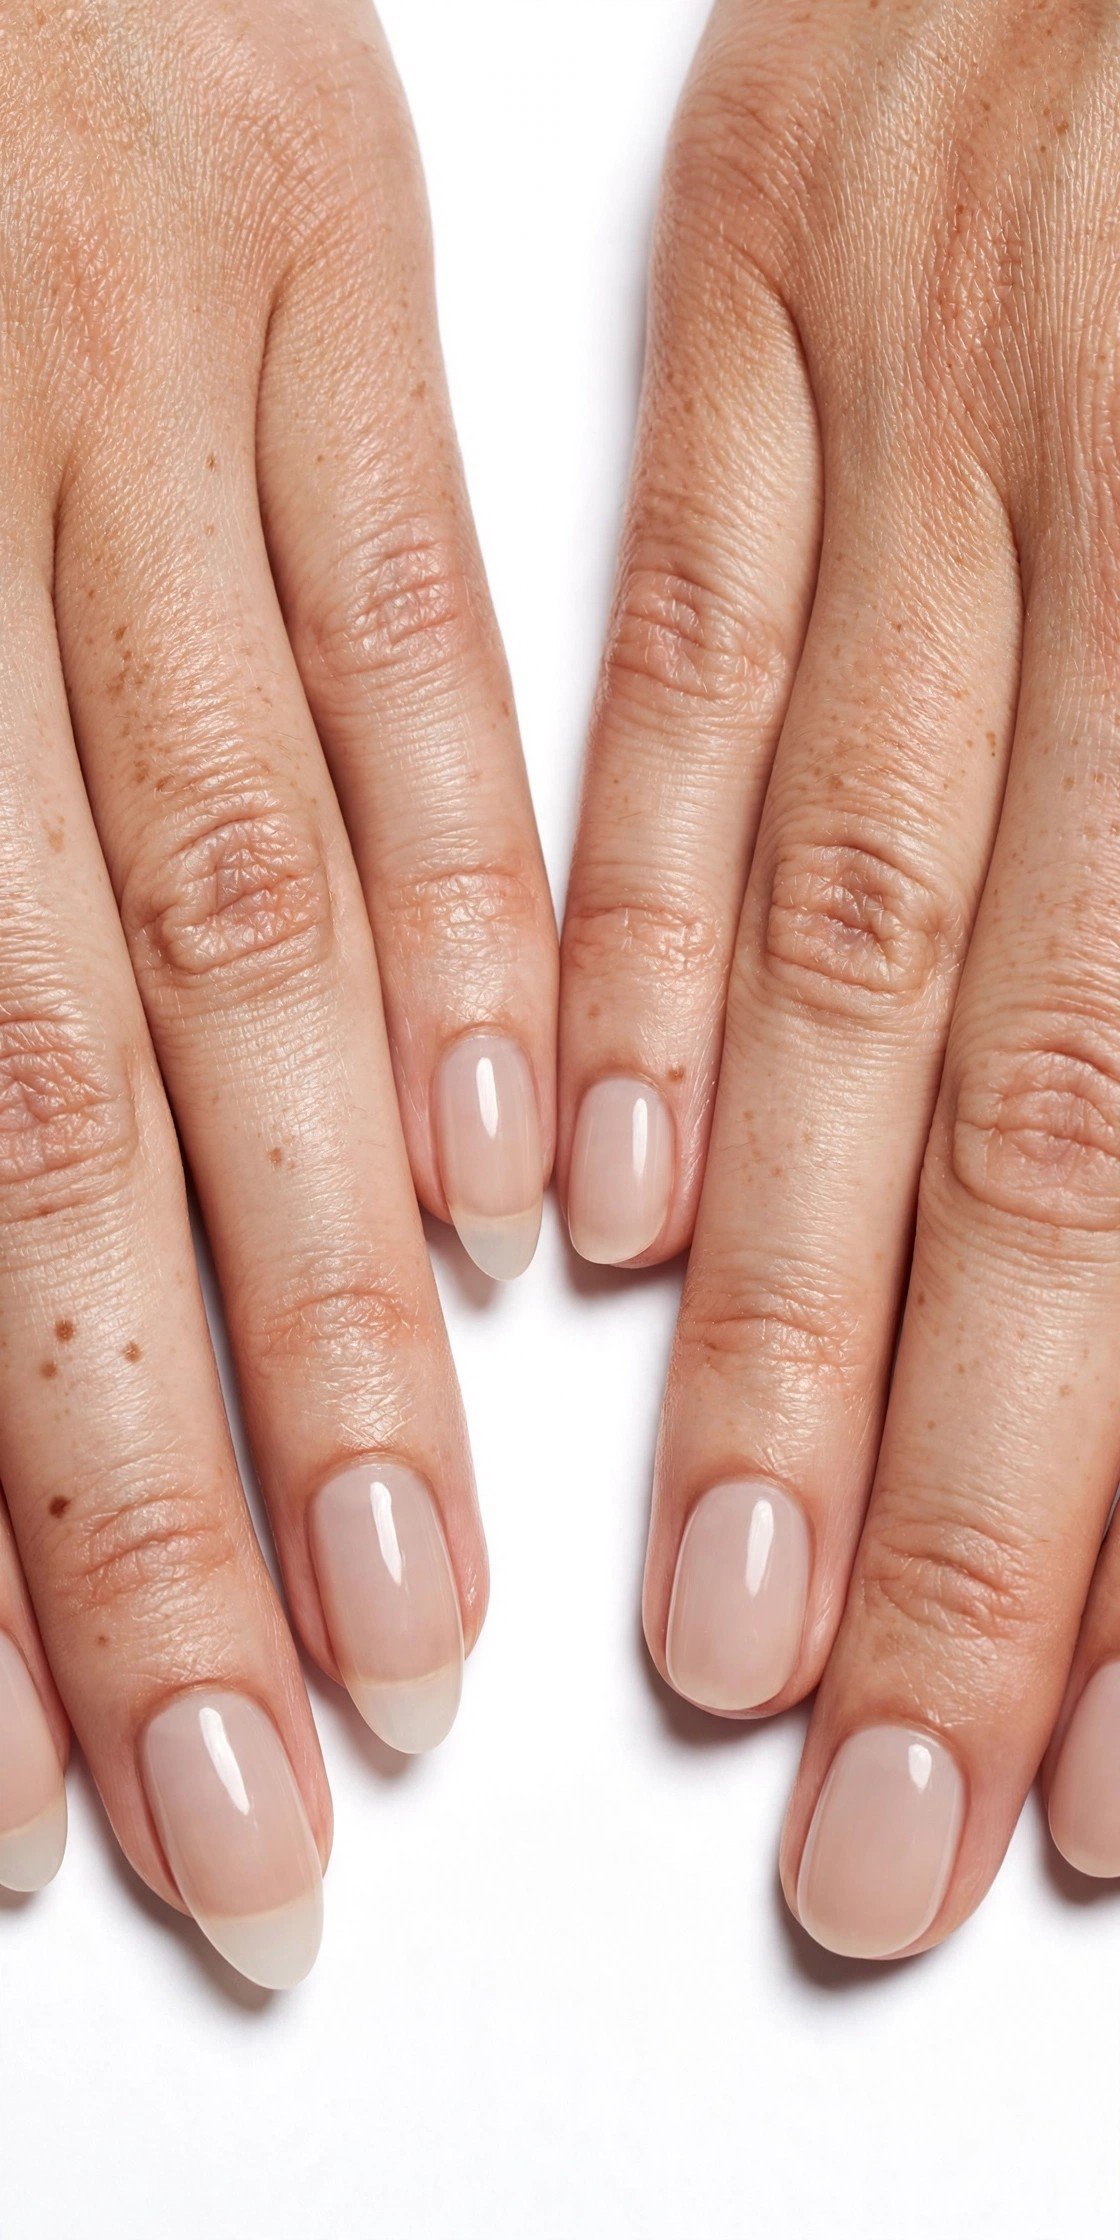
Oval and round nails both have curved tips, but their side profiles are different. An oval nail tapers inward before meeting its rounded tip, while a round nail follows the fingertip's own curve with less tapering.
| Feature | Oval nails | Round nails |
|---|---|---|
| Shape profile | Sides taper inward into an elongated curve | Free edge follows the fingertip's natural curve |
| Best finger or nail-bed fit | Often suits medium-length nails and a range of nail beds; can visually elongate fingers | Particularly practical for short nails and wider nail beds |
| Breakage tendency | Can catch or break more easily if the sides are over-filed or the free edge is too long | Often the more durable option at short lengths because there are fewer projecting corners |
| Growth-out look | The tapered outline may need reshaping as the nail grows | Usually grows out with a natural-looking edge and requires less reshaping |
| Best designs | Elongated French tips, vertical accents, ombré, delicate line work | Micro French, dots, rounded color blocks, short glitter accents |
Which shape should you choose?
Choose oval if you like a longer-looking silhouette, have enough free edge to create a smooth taper, and do not mind occasional reshaping. It is especially attractive at medium length, where the curve looks balanced without becoming too narrow.
Choose round if you keep your nails short, use your hands frequently, or want a low-maintenance outline. The curved free edge has fewer corners to catch on clothing or objects, which can reduce snagging.
The difference is about practicality as much as appearance. Round nails are often the strongest short shape in everyday use, but any nail can break if it is thin, damaged, or exposed to repeated impact. Oval nails can also be durable when the sides are left sufficiently thick and the length suits your lifestyle.
Short oval and round nails
Short nails can look polished and intentional without needing extra length. The key is to follow the nail's natural structure rather than forcing a shape that does not suit its current length.
Short oval nails
Short oval nails work best when there is enough free edge to create a subtle taper. Keep the sides softly curved and avoid narrowing them too much, especially if the nail bed is naturally wide. Very short oval nails can still look elegant, but the outline may appear closer to round until more free edge grows in.
For short oval nail designs, try sheer pink, a thin French tip, a single accent line, or a glossy neutral. These choices follow the shape without crowding the nail surface.
Short round nails
Short round nails are usually the easiest shape to maintain when the free edge is minimal. The tip follows the fingertip, which helps avoid sharp corners and makes the shape practical for typing, household tasks, and other hands-on activities.
If you prefer extra short oval nails but find the sides becoming too narrow, let the nails grow slightly before shaping them into a more obvious oval. Extra short round nails and rounded short nails are often the most natural-looking choices when there is little free edge to work with.
For very short round nails, keep the edge smooth and follow the fingertip's curve. Short round nails ideas such as a single-color manicure, small dots, or short round pink nails can look neat without requiring much length.
A full short-nail design gallery belongs in a broader short-nails guide; here, the focus is on choosing and maintaining the oval or round shape at shorter lengths.
Oval nail designs for 2026
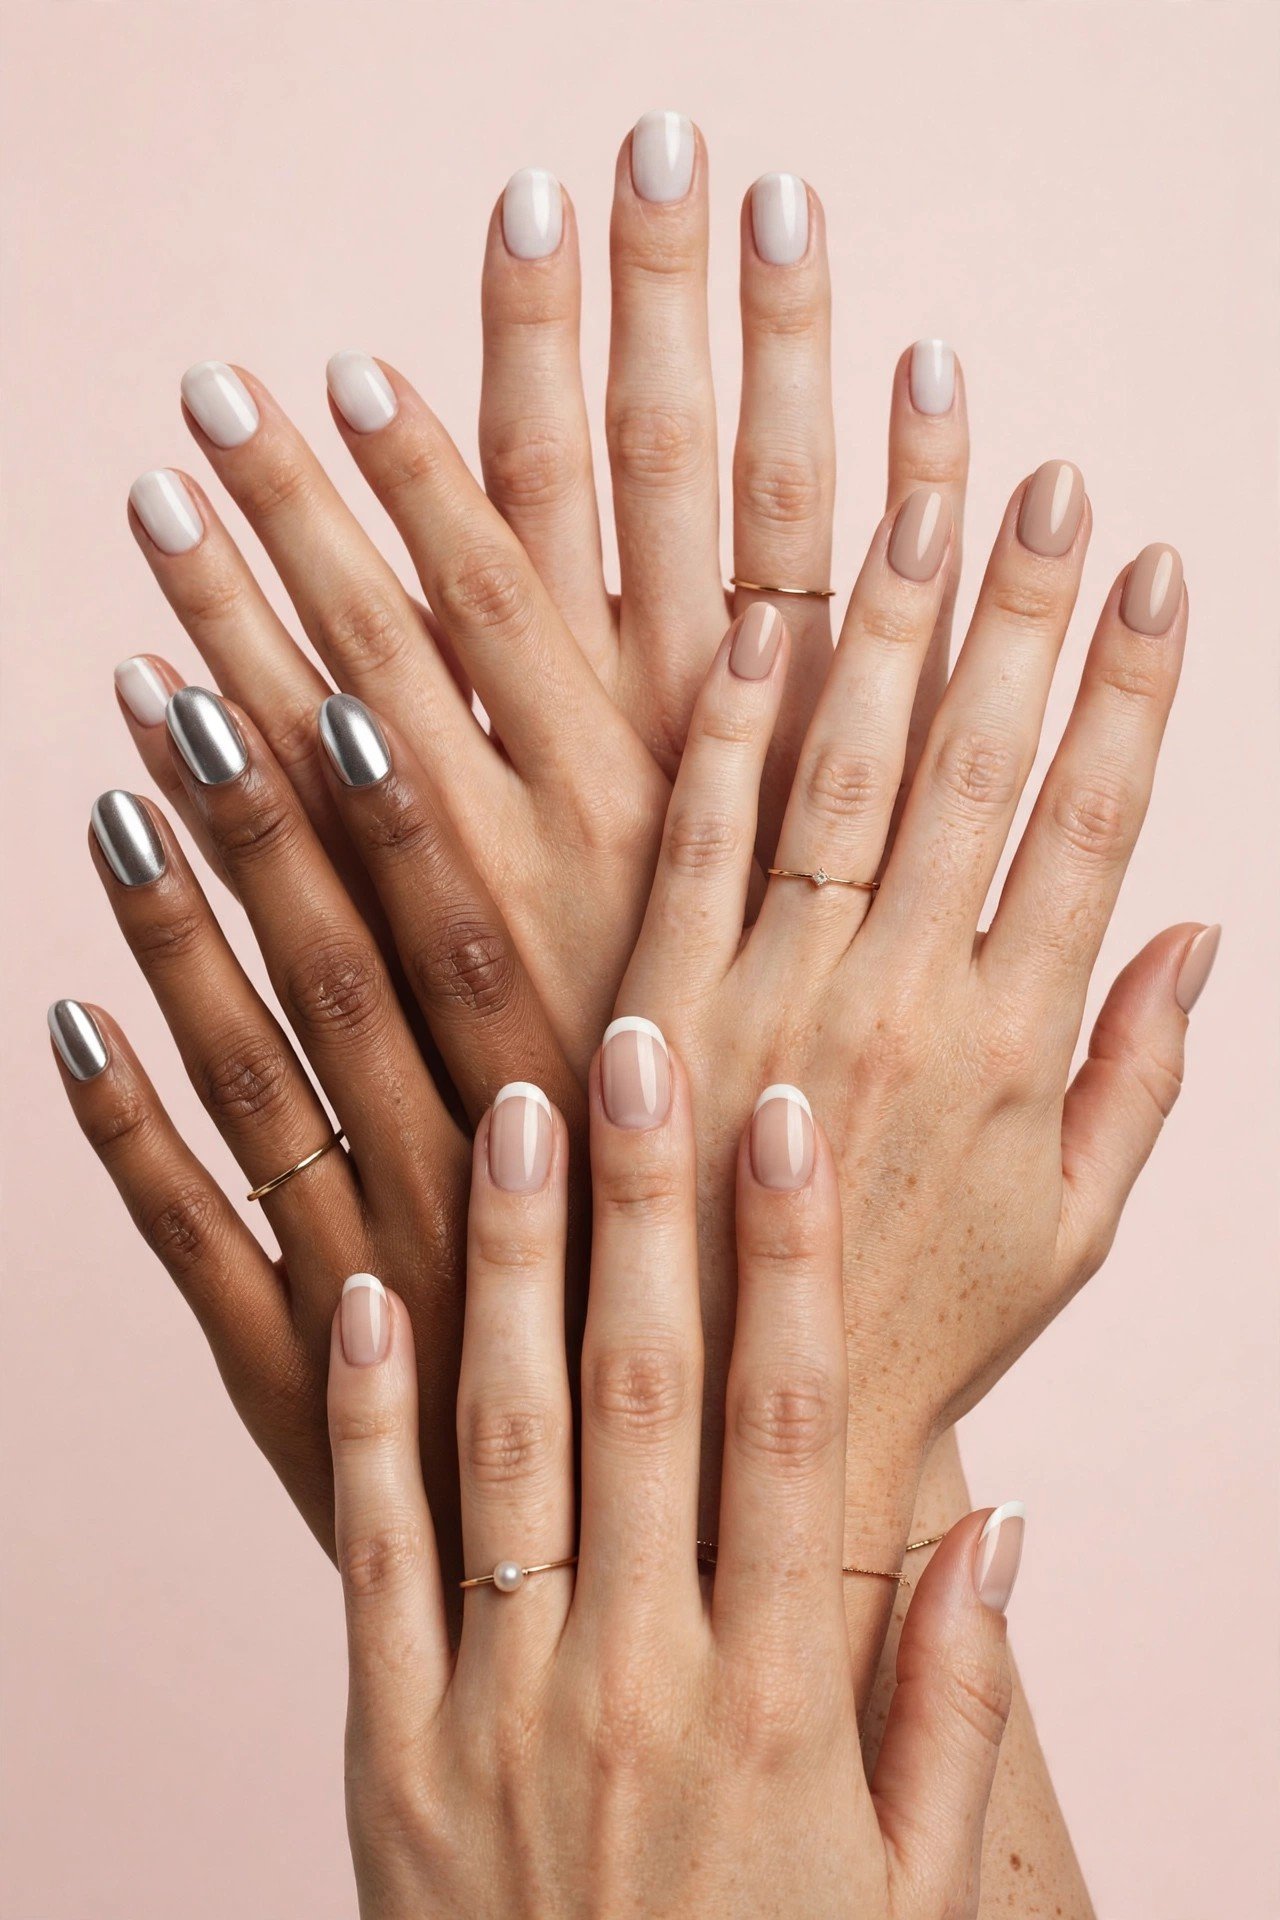
The best oval nail designs work with the shape's tapered sides and curved tip. Long, narrow details can emphasize the oval silhouette, while soft finishes make the shape look understated. These ideas range from simple everyday manicures to more decorative looks.
- Milky Pink Oval: A sheer milky pink with a glossy top coat for a clean, natural finish.
- Classic Nude Oval: A beige or nude pink shade that creates a seamless-looking, understated manicure.
- Micro French Oval: A very fine white tip that follows the rounded edge without making it look wider.
- Double-Line French: Two slim curved lines near the free edge for a more graphic take on a French manicure.
- Pearl Chrome Oval: A soft pearl effect that catches light without the heavy look of chunky glitter.
- Vertical Nude Lines: Fine lines running from the base toward the tip to emphasize the nail's length.
- Soft Ombre Oval: A blended transition from sheer pink at the base to white at the tip.
- Sage Green Oval: A muted green cream finish for a modern, understated color choice.
- Light Blue Oval: A pale blue shade that gives the curved shape a fresh, airy look.
- Burgundy Gloss Oval: A deep wine-red polish that adds contrast while keeping the outline elegant.
- Negative-Space Oval: A clear or nude base with a small curved detail that leaves part of the nail unpainted.
- Tiny Floral Oval: One or two small flowers placed away from the sidewalls so the design does not crowd the outline.
- Soft Cat-Eye Oval: A magnetic polish effect with a reflective band that follows the curve of the nail.
- Matte Neutral Oval: A beige, mauve, or taupe color finished with a matte top coat for a softer appearance.
For cute oval nail designs, tiny florals and small dots keep the look light. For elegant oval nail designs, a clean French tip, pearl finish, or neutral base is often enough. Trendy oval nail designs do not need elaborate artwork: a fresh color with a carefully shaped free edge can be just as effective.
Round nail designs that flatter the natural curve
Round nail designs look best when their details complement the short, curved free edge. Small motifs, thin tip lines, and simple color blocking work particularly well because they do not overwhelm a compact nail surface.
- Sheer Pink Round: A translucent pink with a glossy finish that follows the natural nail.
- Classic Red Round: A solid red shade that looks neat on a short, rounded edge.
- Round Micro French: A very thin tip that traces the fingertip's curve.
- Short Pink Dots: Tiny white or burgundy dots on a pale pink base.
- Single-Sparkle Round: One small glitter accent on each hand or on a single nail.
- Soft Pastel Mix: A different pastel shade on each nail, keeping the finish consistent.
- Rounded Color Block: Two colors divided by a curved line that echoes the tip.
- Minimal Daisy Round: A small daisy near the center or upper corner of the nail.
- Glossy Chocolate Round: A rich brown shade that creates a clean, compact look.
- Milky White Round: A semi-sheer white that keeps the manicure light and simple.
- Tiny Negative-Space Dot: A small bare circle or dot detail against a neutral base.
- Short Glitter Fade: Fine glitter concentrated near the tip, fading toward the center.
For simple round nail designs, one opaque color or a micro French edge is often enough. Cute round nails can also feature tiny flowers or dots, but leave enough clear space for the natural curve to remain visible. These ideas are especially suitable for round nails short in length, where larger motifs can look crowded.
When choosing designs for round nails, consider the width of the nail bed. A narrow line that follows the curve can look balanced, while a very thick contrasting tip may visually shorten the nail. Use the design to complement the shape rather than trying to make round nails look like a different shape.
French manicure on oval and round nails
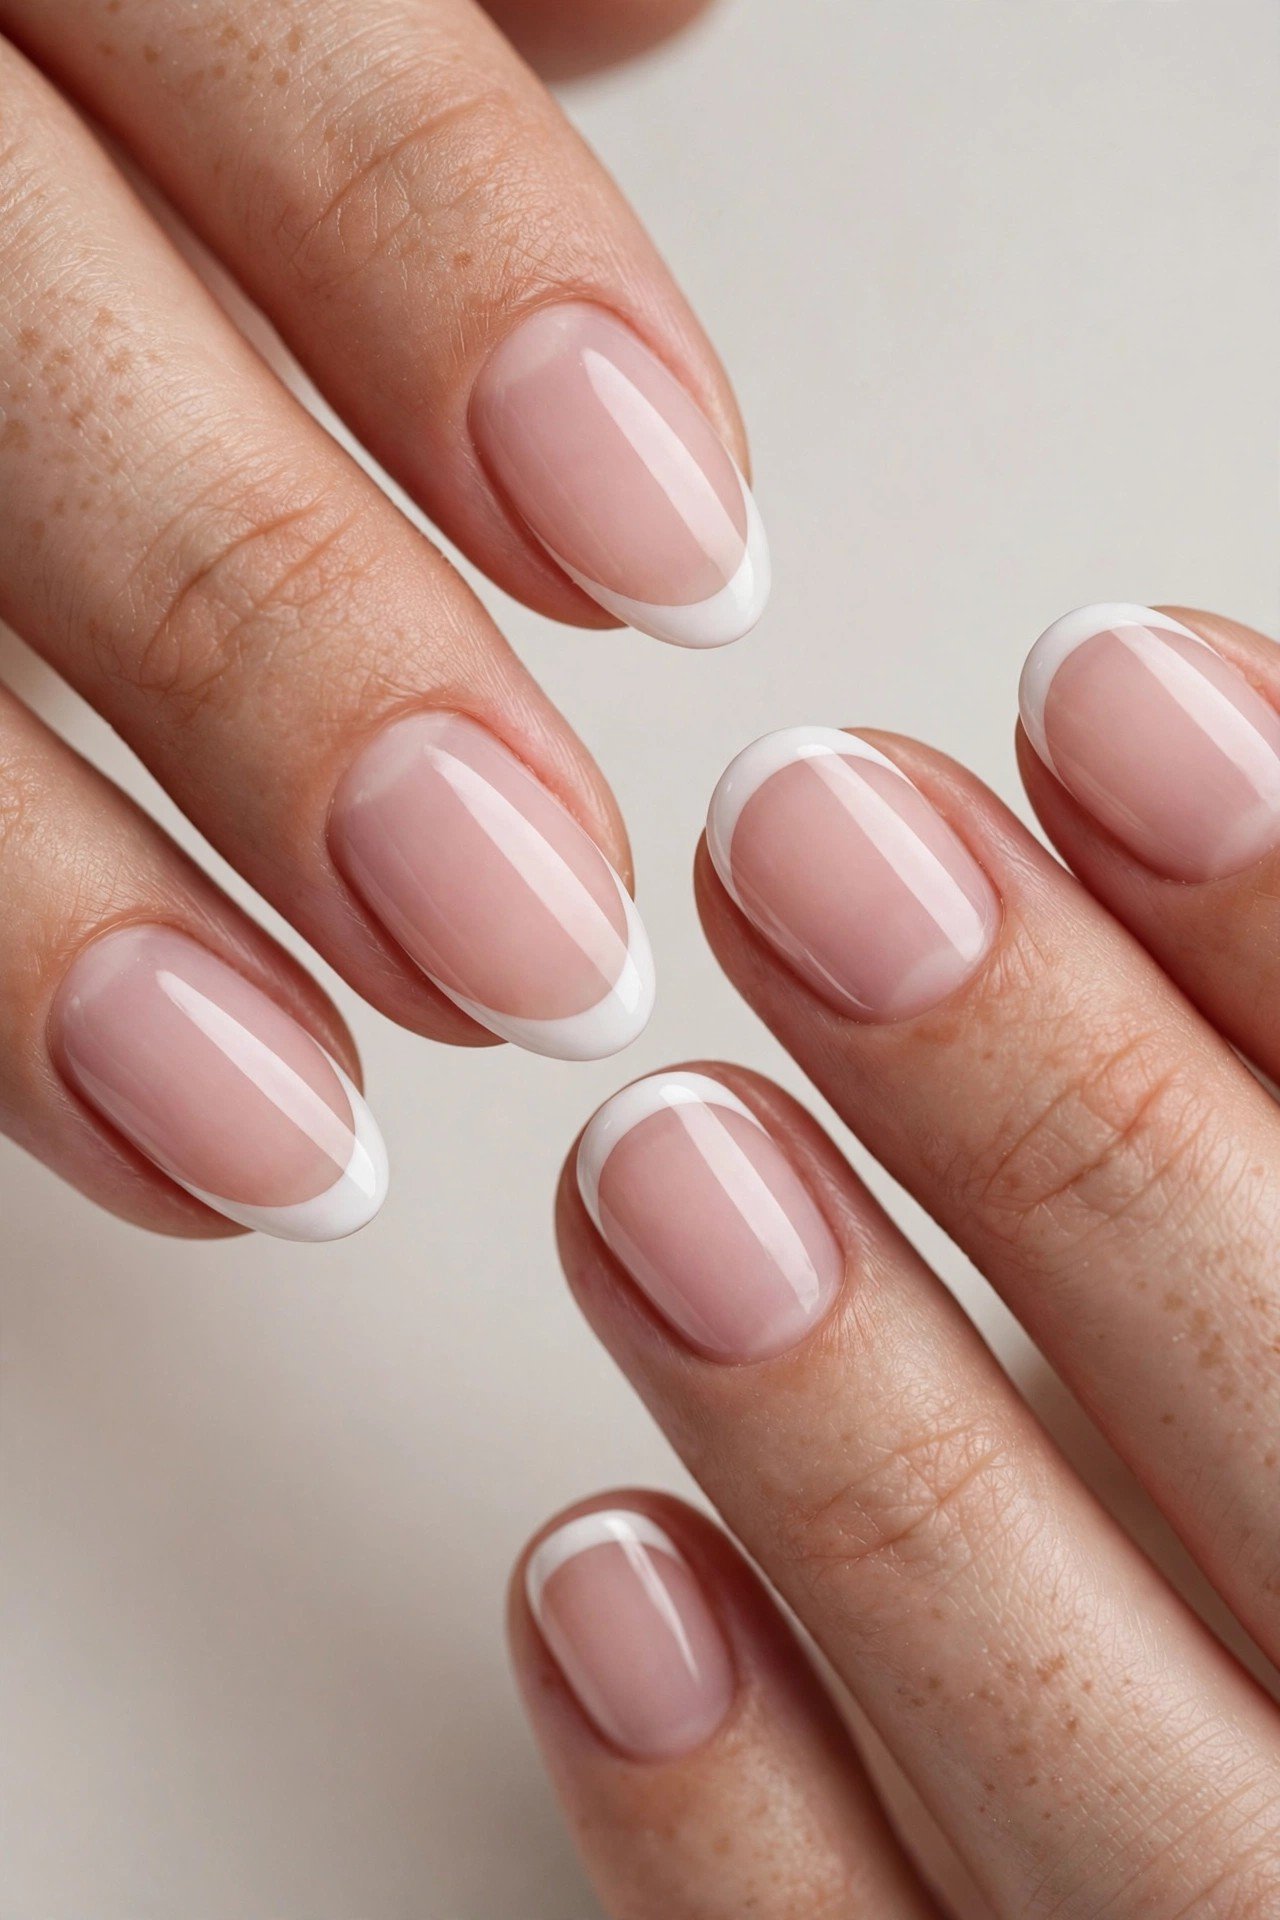
A French manicure suits both shapes because the curved free edge provides a natural guide for the smile line, where the tip color meets the base. The main difference is how much space the nail offers for the tip.
French tips on oval nails
Oval French nails have room for a gently curved white tip that follows the elongated outline. A classic white French tip looks timeless, while a micro French line gives the manicure a lighter appearance. A double French design adds another slim curve without covering too much of the base.
French manicure on oval nails tends to look balanced when the smile line mirrors the nail's own curve rather than forming a straight stripe. Sheer pink, nude, and milky bases are common choices, but the base color can be adjusted to suit your preference.
French tips on round nails
French tips on round nails work best when the line is narrow and follows the fingertip's curve. A thick white tip can take up too much of a short nail, while a micro French line leaves more room for the base color.
Colored French tips are another option: try muted blue, red, burgundy, or a soft pastel over a neutral base. For short oval French nails, keep the tip slim enough to follow the shape without making the nail look blunt. In both oval and round French designs, the goal is a smile line that complements the free edge.
Nail art placement for oval and round shapes
Good nail art placement works with the nail's outline instead of fighting it. You do not need a complex design to make oval or round nails distinctive; a small detail in the right location can be enough.
- Near-cuticle accents: Small dots, tiny metallic details, or a fine curved line can draw attention to the base without covering the whole nail. Keep products off the surrounding skin.
- Negative space: Leave part of the nail unpainted to create a clean contrast. On oval nails, a lengthwise open area can emphasize the taper; on round nails, a small curved detail tends to suit the compact outline.
- Along the center: A narrow vertical detail can emphasize an oval nail's length. On round nails, use a shorter line or dot to avoid making the design look crowded.
- Near the free edge: French lines, small glitter accents, and curved color blocks naturally follow both shapes. Keep the detail proportionate to the available space.
- Sidewall-safe placement: Leave a little room between the design and the skin along the sides. Polish or nail-art products touching the skin can irritate some people, particularly if they contain reactive ingredients.
For nail art oval styles, elongated accents tend to complement the tapered outline. Nail art for round nails often looks most balanced when the motifs are small and centered or follow the tip's curve. If you try a new polish, adhesive, or nail-art product, patch-test it according to its directions and stop using it if irritation develops.
This article focuses on where designs suit each shape rather than step-by-step art tutorials; more detailed nail-art techniques can be covered in dedicated design guides.
Colors that flatter oval and round nails
Color can change how a nail shape reads. Nude and neutral shades often create a softer, more elongated effect, while deep or highly contrasting colors draw attention to the outline. The finish matters too: a sheer polish looks different from an opaque cream, even when the two shades are similar.
Nudes, neutrals, and natural-looking shades
Nude oval nails look understated because the color complements the nail's elongated outline without competing with it. Try beige, soft taupe, nude pink, or a sheer rose shade. The best nude depends on your skin tone and preferred contrast, so test the shade rather than relying on the name alone.
Neutral oval nails can also work well with a glossy or matte finish. For natural oval nails, a sheer pink or clear coat keeps the appearance simple, while milky white oval nails give a soft, cloudy finish that is less opaque than a solid white.
Light pinks and blues
Light pink oval nails are a versatile choice for a delicate manicure. Sheer pink, blush, and pale rose work well with French tips or can be worn alone. On round nails, short round pink nails with a glossy finish create a simple, coordinated look.
Light blue oval nails offer a cooler alternative to pink and nude. A pale blue cream finish looks clean on an oval shape, while a muted blue on round nails can add color without overpowering the shorter outline.
Dark and expressive colors
Dark oval nails in burgundy, plum, espresso, or deep red highlight the tapered silhouette. Dark shades can also work on round nails, but chips at the free edge may be more noticeable because the tip meets the fingertip's curve and experiences regular contact.
Purple oval nail designs can be as simple as a solid plum shade or a soft shimmer. For a gradient, try an ombré effect that moves from a sheer base to a deeper tip. Ombré round nails often look balanced when the transition is soft and the darkest color is kept close to the free edge.
The most useful rule is to choose a color you enjoy wearing and then select a finish that suits the shape. You do not need a separate color palette for every nail length.
Oval and round nails at every length
Oval and round shapes can both work at different lengths, but their proportions change as the free edge grows. Choose a length you can maintain comfortably rather than filing toward a shape that your nails cannot support.
Short length
Round nails are usually the simplest choice when there is very little free edge. They follow the fingertip and need minimal shaping. Oval shaped nails short in length can work too, provided you leave enough width at the sides and create only a gentle taper.
For rounded corner nails, smooth the edges into a continuous curve rather than leaving small corners that can catch. If the nail is too short to form a clear oval, wait until it grows a little instead of filing away the sidewalls.
Medium length
Medium oval nails are often a practical balance between appearance and everyday use. There is enough free edge to create a clear oval outline without requiring the upkeep of a longer manicure. Oval medium nails also provide room for French tips, a subtle gradient, and simple line details.
At medium length, check the sides regularly so the taper stays even. Avoid filing the sides too far inward, since the sidewalls help support the free edge.
Long length
Long oval nails create a more noticeable elongated look and offer more space for nail art. However, longer free edges can catch on objects and put extra leverage on the natural nail. If you choose long oval nail designs, keep the sides structurally sound and avoid excessive filing to make the tip appear narrower.
Round nails can also grow longer, but the natural fingertip curve should remain the guide. The outline should not be forced into a narrow oval if the nail's natural shape is broad and round.
How to file safely
- Use a clean emery board or glass nail file. A 180-grit file or a finer file is commonly used for shaping natural nails; use light pressure and choose a suitable file for your nail condition.
- File in one direction with controlled strokes. Do not saw back and forth across natural nails.
- For oval nails, work gradually from each side toward the center, creating a smooth taper and rounded tip. Check both sides frequently so the shape stays symmetrical.
- For round nails, follow the fingertip's curve and remove only the small corners that interrupt the outline.
- Stop once the free edge looks even. Over-filing can thin the nail and increase the risk of breakage.
Do not file aggressively into the sidewalls or shorten the nail by repeatedly buffing the surface. If a nail is splitting, painful, or unusually thin, give it a break from shaping and seek professional advice if the problem persists.
Care and upkeep: keeping the shape
Oval and round nails stay neater when you make small adjustments instead of waiting until the free edges become uneven. The right upkeep depends on how quickly your nails grow, how often you use your hands, and whether your nails tend to split.
- Check the outline weekly. Lightly smooth a rough edge before it catches on fabric. You do not need to reshape every nail at every check.
- Use cuticle oil daily. Apply it around the cuticle and surrounding nail folds to help condition dry skin. Cuticle oil does not repair structural damage, but it can make the area look cared for.
- Push back cuticles gently. If needed, soften the area with warm water or cuticle oil, then push back gently. Never clip or cut living cuticle skin; it helps protect the nail area.
- Avoid over-filing. Repeated heavy filing can thin natural nails. Use light pressure, file in one direction, and preserve the sidewalls.
- Protect nails during chores. Gloves can help reduce prolonged water exposure and contact with cleaning products. Avoid using the nail tips to pry or scrape objects.
- Adjust the length to your routine. If the free edge repeatedly catches or breaks, shorten it slightly and let the shape grow back evenly.
For oval nails inspo, save examples that resemble your actual nail-bed width and natural length. Inspiration photos often show extensions or heavily edited images, so a shape that looks elongated in a photo may need more free edge than you currently have. Round nail inspo is useful if you want a natural, low-maintenance shape that follows your fingertip.
Try new polish, cuticle products, or nail adhesives with a patch test according to the product directions. If you notice persistent discoloration, swelling, pain, nail separation, or other changes that make you suspect a fungal infection, consult a dermatologist rather than attempting to diagnose or cover the problem with polish.
Frequently asked questions
What is the difference between oval and round nails?
Oval nails taper inward along the sides and end in an elongated curve. Round nails follow the fingertip's natural curve and have less taper. Oval often creates a longer-looking silhouette, while round is usually easier to maintain on short nails.
Do oval nails suit short fingers?
They can. The tapered sides of oval nails can make fingers appear longer, especially at a medium length. If your nails are very short, a round shape may look more natural until there is enough free edge to create a clear oval.
Are oval or round nails stronger?
Round nails are often the more durable option at short lengths because the shape has fewer corners to snag. Oval nails can also be strong when the sides are not over-filed and the length is manageable. Nail condition and daily habits matter as much as shape.
Can you get French tips on oval nails?
Yes. The curved tip provides a natural guide for the French smile line. A classic white tip, micro French line, or colored tip can all work, as long as the line follows the nail's curve and suits the available length.
How do I file my nails oval?
File each side gradually toward the center, then smooth the free edge into a rounded, tapered curve. Use light pressure and file in one direction rather than sawing back and forth. Do not narrow the sidewalls too much or over-file the natural nail.
What nail shape makes fingers look longer?
Oval nails can create an elongated appearance because the sides taper toward a curved tip. A nude or neutral shade can reinforce that effect. The result depends on your natural nail bed, finger proportions, and the length you can comfortably maintain.
Oval nails offer an elongated, softly tapered look, while round nails are a practical option for shorter lengths and everyday wear. Choose the shape that suits your natural nail, file gently in one direction, and keep the sidewalls intact. With the right length and simple upkeep, oval nails can look elegant without sacrificing comfort or nail health.
Last reviewed: October 2026 — Editorial Team, Polish Haven
[…] French manicure designs add a contrasting tip to the nail; the classic version uses a pale base and a light tip. More elaborate versions can use different colors or decorative lines, but the full French-tip guide belongs in its own tutorial. […]