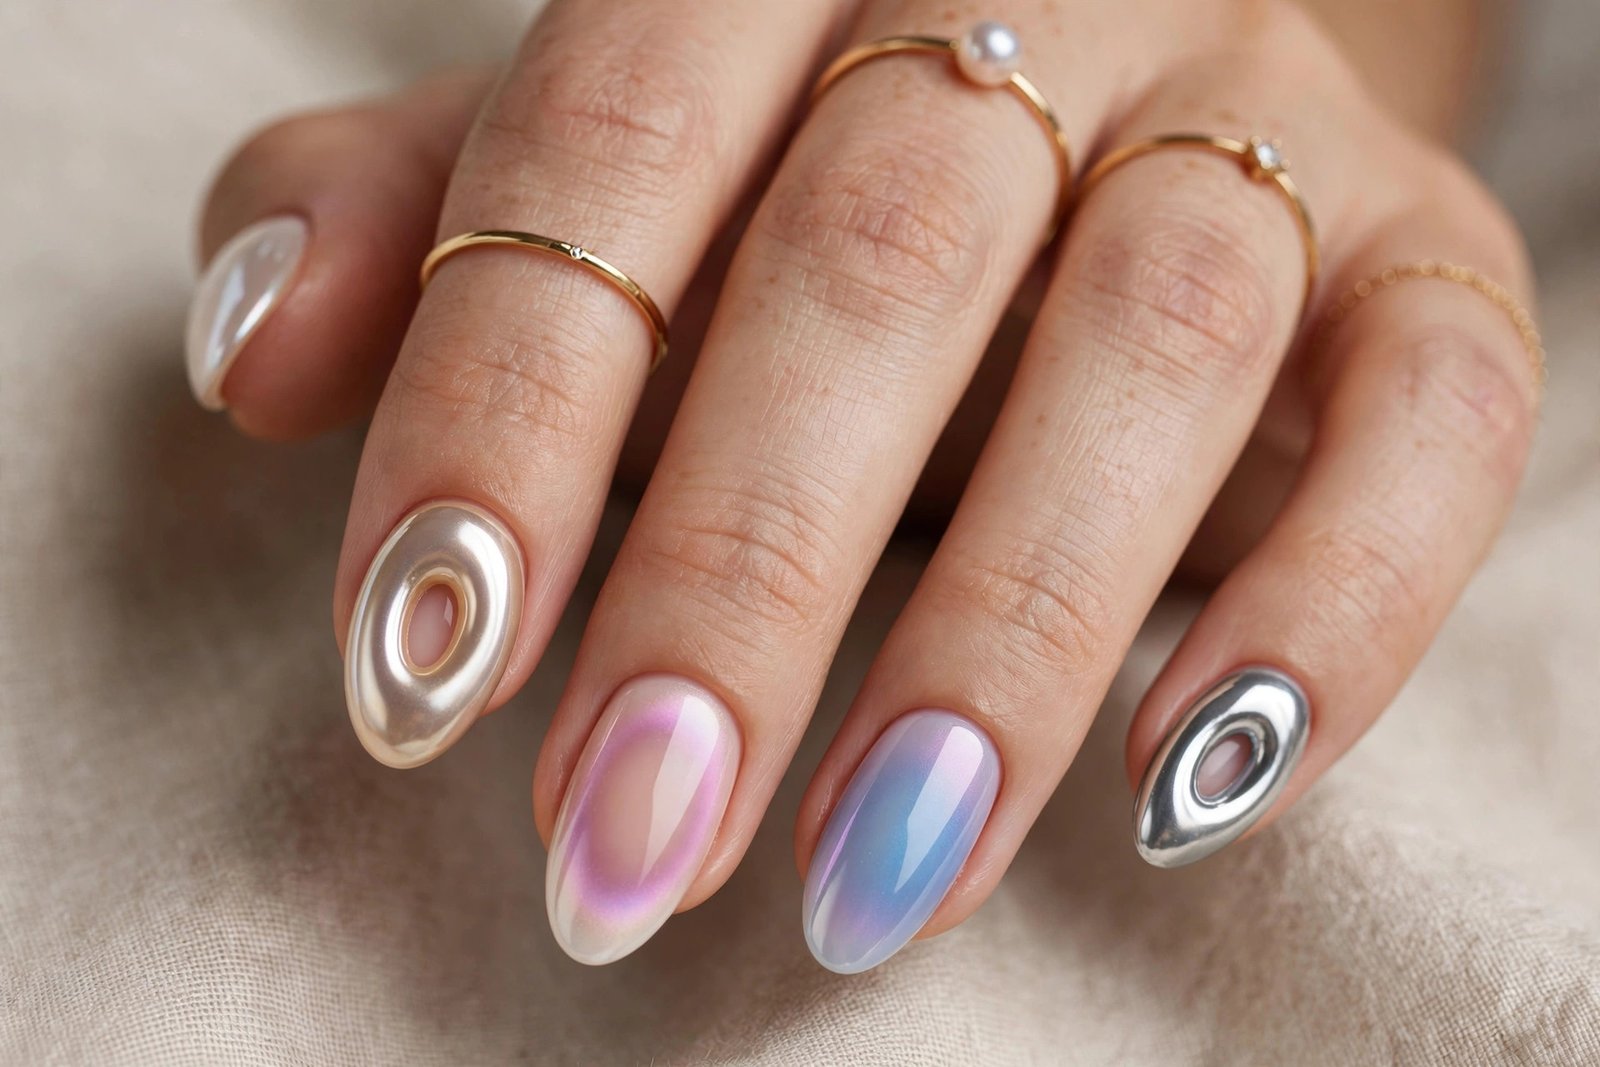

Gel nails are a popular choice for anyone who wants a glossy manicure that lasts longer than traditional nail polish. From classic nude shades and French tips to chrome finishes and jelly gel nails, gel manicures offer plenty of ways to customize your look without repainting your nails every few days.
But how do gel nails actually work? Are they better than regular polish? And how can you apply and remove them without damaging your natural nails?
This guide covers everything you need to know about gel nails in 2026, including the different types of gel products, at-home application, wear time, safe removal, nail aftercare, and the mistakes worth avoiding.
Whether you’re trying your first gel mani or looking to improve your manicure routine, you’ll find practical answers below.
In this guide:
- What Are Gel Nails?
- Gel Nails vs. Regular Nail Polish
- Types of Gel Nails Explained
- How to Do a Gel Manicure at Home
- How Long Do Gel Nails Last?
- How to Safely Remove Gel Nails
- Gel Nail Aftercare Tips
- Gel Nail Designs and Trends to Try in 2026
- Are Gel Nails Safe for Your Natural Nails?
- Frequently Asked Questions About Gel Nails
- Final Thoughts
What Are Gel Nails?
Gel nails are manicures or nail enhancements made with gel-based products that harden when exposed to a compatible UV or LED nail lamp. Unlike traditional nail polish, which generally dries through evaporation, gel polish cures through a chemical process called polymerization.
During curing, the ingredients in the gel react to form a hardened coating on the nail. This helps create the smooth, glossy finish and longer wear that gel manicures are known for.
A typical gel manicure includes several layers:
- Base coat: Helps the gel system adhere to the natural nail.
- Color coat: Provides the chosen shade, from sheer pink to deep red.
- Top coat: Adds shine or a desired finish and protects the color.
- Nail lamp: Cures each layer according to the product’s instructions.
Not every gel manicure requires the same products or application method. Some systems use soak-off gel polish, while others involve thicker gels designed to reinforce or extend the nails.
What Makes a Gel Manicure Different?
The biggest difference is how the product hardens. Regular nail polish typically dries as its solvents evaporate. Gel polish must be cured under the appropriate lamp.
Once properly cured, gel polish usually resists everyday chips and scratches better than traditional polish. It also tends to maintain its shine for longer.
However, gel polish isn’t indestructible. Picking at the coating, using your nails as tools, applying thick layers, or preparing the nail incorrectly can lead to lifting, cracking, and damage.
It’s also important to distinguish between gel polish and gel nail extensions. Gel polish adds color and a protective coating, whereas extension products can add length or create a new nail structure.
Gel Nails vs. Regular Nail Polish
Both gel polish and regular nail polish can produce beautiful manicures, but they suit different needs.
| Feature | Gel polish | Regular nail polish |
|---|---|---|
| How it dries | Cured under a compatible UV or LED lamp | Usually dries through solvent evaporation |
| Typical wear | Around 2–3 weeks for many people | Often several days to about a week |
| Finish | Usually glossy and durable | Available in glossy, matte, shimmer, and other finishes |
| Drying time | Each layer needs lamp curing | Can take time to dry fully |
| Removal | Depends on the gel formula; may require acetone or filing | Usually removed with nail polish remover |
| At-home equipment | Compatible lamp and gel products | Usually just polish and remover |
| Nail maintenance | Requires careful removal and upkeep | Usually easier to change frequently |
Actual wear time depends on the product, application technique, nail condition, and daily activities.
Which Option Is Better for You?
Choose gel nails if you want a longer-lasting manicure and don’t mind using a lamp or visiting a salon. They’re especially useful when you want your color to stay neat through a busy week or a special event.
Regular polish may be a better choice if you enjoy changing colors frequently, prefer simpler removal, or want to avoid UV exposure and gel-product allergy risks.
Neither option is automatically healthier for your nails. The condition of your natural nails often depends more on preparation, removal, and how you maintain your manicure than on the color you choose.
Types of Gel Nails Explained
Not all gel products are interchangeable. Understanding the main types helps you choose the right system for your desired look, nail length, and level of experience.
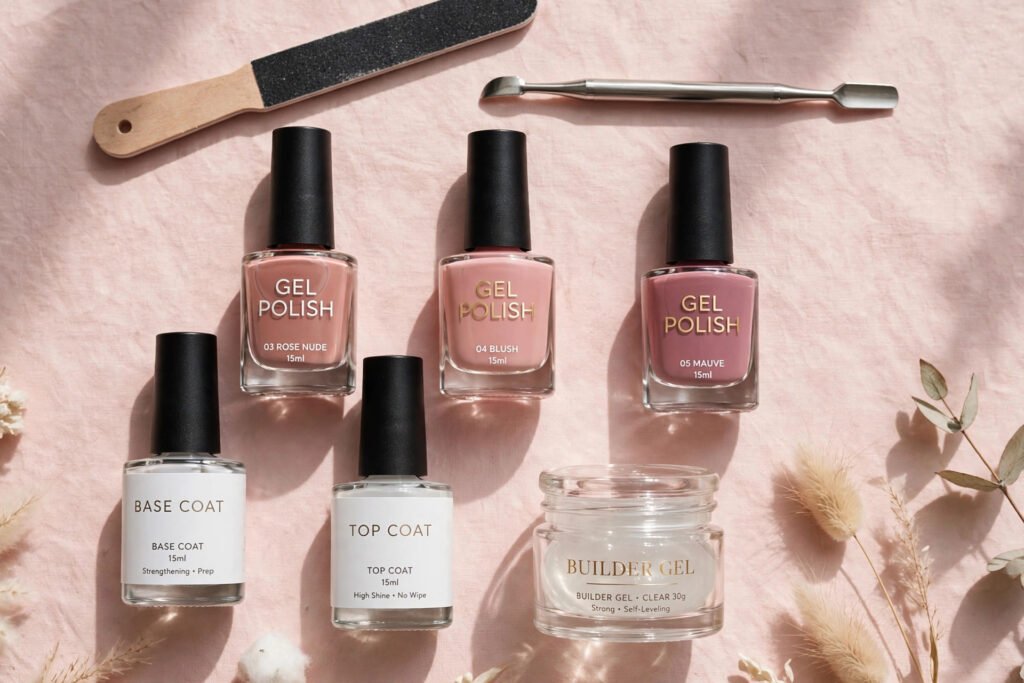
1. Soft Gel
Soft gel is a flexible gel product commonly used for gel polish manicures. Many soft-gel formulas are designed to be removed by soaking in acetone, although the removal method depends on the specific product.
Best for:
- Long-lasting color on natural nails
- Glossy everyday manicures
- Short and medium-length nails
- Simple nail art and seasonal colors
Soft gel polish is usually applied in thin layers over a compatible base coat. Each layer is cured before the next one is applied.
The main advantage is convenience: many soft-gel systems can be removed without extensive filing. However, never assume a product is soak-off simply because it’s labeled as gel.
2. Hard Gel
Hard gel is a stronger, more rigid product used to build or extend nails. It can create structure, add length, and support more elaborate nail shapes.
Unlike many soak-off soft-gel products, traditional hard gel generally needs to be filed off. It shouldn’t be treated like ordinary gel polish.
Best for:
- Nail extensions
- Sculpted nail shapes
- Longer nails
- Clients who want a structured enhancement
Hard gel requires more technical skill than applying ordinary gel polish. Incorrect filing can thin the natural nail, so removal is best handled by a trained nail professional.
3. Builder Gel
Builder gel is designed to add structure, reinforce the nail, or create an enhancement. Depending on the formulation, it may be available as a soft-gel or hard-gel system.
Some builder gels are thicker than standard gel polish and allow the product to be shaped before curing.
Best for:
- Adding strength to suitable natural nails
- Creating a structured overlay
- Building extensions with compatible systems
- Achieving a smooth, shaped surface
Builder gel can be useful for people who want more structure than a basic color manicure provides. However, it doesn’t make natural nails invulnerable to breaking.
What Are Self-Leveling Gel Nails?
Self-leveling gel nails refer to the technique of using a gel product that naturally settles into a smoother surface before curing.
Self-leveling builder gels can help create an even nail structure with less manual shaping. The product’s consistency and the way it is applied influence how easily it levels.
Self-leveling doesn’t mean the gel can be left to spread onto the skin. Keep it away from the cuticles and sidewalls, and cure it only according to the manufacturer’s instructions.
4. Gel Polish vs. Builder Gel: What’s the Difference?
Gel polish is primarily designed to provide color, while builder gel is designed to create or reinforce structure.
A standard gel manicure may be enough if your goal is a shiny red, pink, nude, or French-tip look. Builder gel may be more suitable when a nail professional determines that additional structure is appropriate.
Don’t automatically apply builder gel to every nail. The right product depends on the natural nail, the desired result, and the manufacturer’s system instructions.
How to Do a Gel Manicure at Home
You can create a neat gel manicure at home, but product safety and correct curing matter just as much as appearance.
Before starting, read the instructions for your chosen gel system. Use products intended to work together, including a compatible lamp, and avoid products that cause irritation or are difficult to identify.
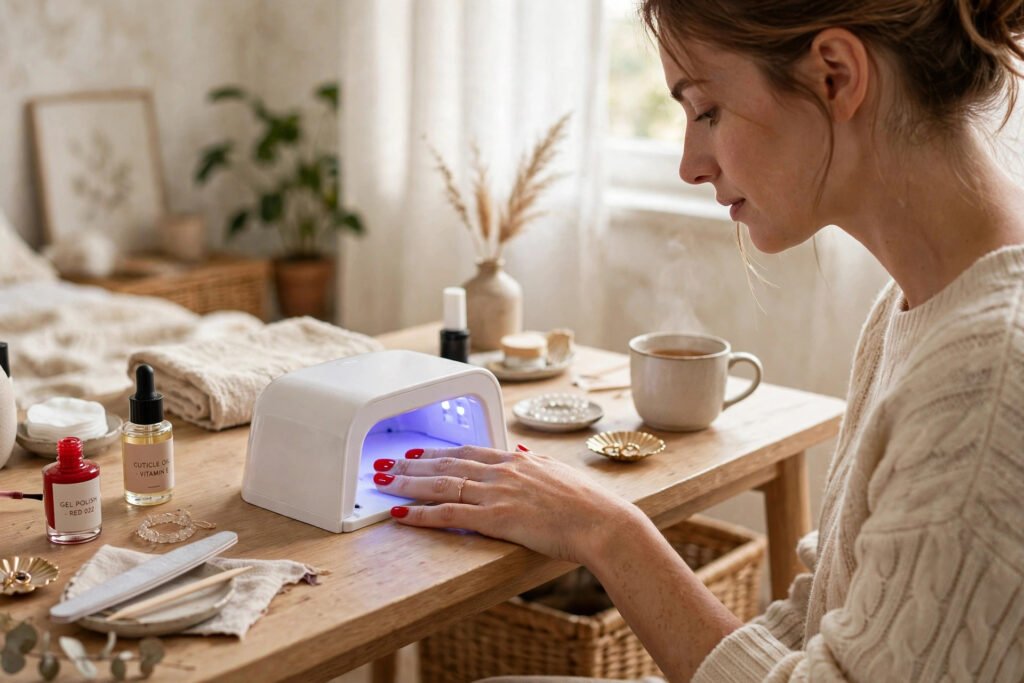
What You’ll Need
Gather these supplies before you begin:
- Gel nail polish in your chosen shade
- Compatible gel base coat and top coat
- UV or LED nail lamp specified for the gel system
- Nail file and gentle nail buffer
- Cuticle pusher, if needed
- Lint-free wipes
- Nail cleanser or preparation product recommended by the manufacturer
- Cuticle oil and hand cream
- Appropriate gel-removal supplies
Choose a clean, well-ventilated workspace. Avoid working over damaged skin, and keep uncured gel away from your hands and surrounding surfaces.
Step 1: Prepare Your Natural Nails
Remove any old polish and gently shape your nails with a file.
If needed, carefully push back the cuticles without cutting living skin. Avoid aggressive buffing, which can thin the nail plate.
Follow the product’s preparation instructions. Some gel systems require a particular cleanser or dehydrator, while others have different requirements.
Your nails should be clean and prepared before application, but they should not feel sore or look visibly thinned from filing.
Step 2: Apply a Thin Base Coat
Apply a thin, even layer of the compatible gel base coat.
Leave a small gap between the gel and your skin. Avoid flooding the cuticles or allowing product to touch the sidewalls.
If any uncured gel touches your skin, remove it completely before curing, following the product’s instructions. Do not cure gel onto the skin.
Cure the base coat for the exact time specified by the manufacturer and using the recommended lamp.
Step 3: Apply Your First Color Layer
Apply a thin layer of gel nail polish, keeping the application smooth and controlled.
Thick coats can cure unevenly, so it’s generally better to build the color with thin layers than to apply one heavy coat.
Cure the layer according to the product instructions. Some shades need additional thin coats to achieve full coverage.
Step 4: Build the Color
Apply a second thin layer if needed and cure it correctly.
Sheer pinks, milky whites, deep reds, and darker shades may behave differently depending on their formulation. Follow the manufacturer’s guidance rather than assuming every color requires the same curing time.
Check that the coating looks smooth and even. If gel has spread onto the skin, correct it before curing.
Step 5: Apply the Top Coat
Finish with the compatible gel top coat.
This layer adds the final finish and helps protect the color. Depending on the product, you may choose a high-gloss, matte, or other effect.
Cure the top coat according to its instructions. Some formulas leave a tacky inhibition layer that must be removed using the specified cleanser; others are designed to finish without one.
Do not wipe the surface unless the product instructions call for it.
Step 6: Finish With Cuticle Oil
Once the manicure is complete, apply cuticle oil around the nails and moisturize your hands.
Avoid using cuticle oil to cover up lifting or gaps in the gel. If the coating begins to separate from the nail, don’t pick at it or seal over the problem.
A successful gel mani should look smooth, feel comfortable, and have no uncured product on the surrounding skin.
Common At-Home Gel Manicure Mistakes
Avoid these common problems:
- Applying thick layers that may not cure properly
- Using a lamp that isn’t compatible with the gel formula
- Guessing the curing time
- Allowing gel to touch the skin
- Filing the natural nail too aggressively
- Peeling off the manicure when it begins to lift
- Mixing incompatible base coats, colors, and top coats
If you experience burning, itching, swelling, blistering, or a rash, stop using the products. Seek medical advice for suspected allergic reactions rather than trying to cover the symptoms with another manicure.
How Long Do Gel Nails Last?
A gel polish manicure commonly lasts around two to three weeks, although some people experience shorter or longer wear.
The exact result depends on nail condition, application technique, the gel system, and everyday habits.
What Affects Gel Manicure Longevity?
1. Nail preparation
Oil, moisture, product residue, or improper preparation can affect adhesion. Preparation should follow the gel manufacturer’s directions without damaging the nail.
2. Application technique
Thin, even layers and correct curing help the coating perform as intended. Gel touching the skin can contribute to lifting and increases the risk of developing an allergy.
3. Daily activities
Frequent exposure to water, cleaning products, repeated impact, and using nails to open objects can shorten the life of a manicure.
Wear appropriate gloves for household cleaning and avoid using your nails as tools.
4. Natural nail growth
As your nails grow, a visible gap appears near the cuticle. Even when the polish remains intact, the manicure may start to look grown out.
When Should You Remove Gel Nails?
Remove gel polish when it starts to lift, crack, become uncomfortable, or show signs of damage.
You may also choose to remove it when the regrowth becomes noticeable. Don’t wait for the entire coating to peel away on its own.
A long-lasting manicure isn’t necessarily a healthy one if the product is lifting or concealing changes in the natural nail.
How to Safely Remove Gel Nails
Safe removal is essential because peeling, scraping, or excessive filing can damage the natural nail plate.
The correct method depends on whether you have soak-off gel polish, builder gel, or hard gel. Always identify the product before attempting removal.
Removing Soak-Off Gel Polish
Many soft-gel polish systems can be removed using acetone.
- Check the manufacturer’s instructions. Confirm that the product is designed for soak-off removal.
- Prepare the nails. If instructed, gently file the shiny top coat to help the remover penetrate. Avoid filing into the natural nail.
- Apply the remover. Use acetone with an appropriate cotton-and-foil wrap or a suitable removal system, following the product directions.
- Allow time to soften. Follow the specified soaking time rather than forcing the product off.
- Remove softened gel gently. The coating should release without aggressive scraping. If it remains firmly attached, reapply the remover as directed.
- Wash and moisturize. Clean your hands and apply cuticle oil and hand cream.
Acetone can dry the skin and nails, so moisturize afterward. Use it with suitable ventilation and keep it away from flames and heat sources.
Never pull off gel that hasn’t softened enough to release.
Removing Builder Gel and Hard Gel
Some builder gels are soak-off products, while others must be filed down. Traditional hard gel is generally removed by filing.
Because it can be difficult to distinguish product layers from the natural nail, professional removal is the safer option if you’re inexperienced.
A nail professional can reduce the enhancement without filing unnecessarily into the nail plate.
Why You Should Never Peel Off Gel Nails
Peeling gel polish may remove layers of the natural nail along with the coating. This can leave nails thin, rough, sensitive, and more likely to split.
The damage may become more noticeable after repeated removal, even if each manicure initially looks flawless.
If the gel starts lifting, resist the temptation to pick at the edges. Arrange proper removal or follow the manufacturer’s approved removal process.
Gel Nail Aftercare Tips
A little maintenance can help your nails feel more comfortable between manicures and reduce avoidable damage.
1. Use Cuticle Oil Regularly
Apply cuticle oil around the nail edges daily, especially after washing your hands or using drying products.
It helps condition the surrounding skin and reduce the feeling of dryness. It won’t repair a damaged nail plate overnight, but it can support a more comfortable nail-care routine.
2. Moisturize Your Hands
Hand cream helps replenish moisture lost through frequent washing and exposure to household products.
Apply it after washing your hands and before bed. Pay attention to the skin around the nails, not just the palms.
For more guidance, read our Ultimate Nail Care Routine for Strong, Healthy Nails.
3. Avoid Picking and Peeling
If you notice a lifted corner, don’t pull it away from the nail.
Picking can strip away natural nail layers and create rough or weakened areas. Have the product removed correctly rather than trying to fix it with force.
4. Protect Your Nails During Household Tasks
Use gloves when cleaning, washing dishes for extended periods, or handling harsh household products.
Avoid using your nails to scrape labels, open cans, or perform tasks that put pressure on the nail edges.
5. Don’t Over-File Your Natural Nails
Aggressive buffing and repeated filing can thin the nail plate. This may make nails feel sensitive or cause them to break more easily.
Gentle preparation and careful removal are more important than achieving an extremely rough nail surface.
If your nails keep splitting or breaking, read Why Your Nails Keep Breaking (And How to Fix It).
6. Take a Break When Your Nails Need It
You don’t necessarily need to schedule a break after every gel manicure if your nails remain healthy and the products are used correctly.
However, if your nails become thin, painful, unusually flexible, or visibly damaged, remove the enhancement safely and avoid applying another one until the problem has been assessed.
Persistent discoloration, swelling, nail separation, or pain warrants professional medical evaluation.
7. Protect Your Skin From Nail-Lamp Exposure
UV and LED nail lamps emit ultraviolet radiation to varying degrees; LED nail lamps are not automatically UV-free.
Follow the lamp manufacturer’s instructions and avoid unnecessary exposure. Broad-spectrum sunscreen on exposed hands or appropriately designed fingerless UV-protective gloves can help reduce exposure to the surrounding skin.
Keep any sunscreen off the nail plate if the gel system requires a clean, product-free surface for adhesion.
Gel Nail Designs and Trends to Try in 2026
One of the best things about gel nails is the range of finishes and designs you can create. A simple, single-color manicure can look just as polished as detailed nail art.
Here are a few ideas to consider for your next appointment or at-home manicure.
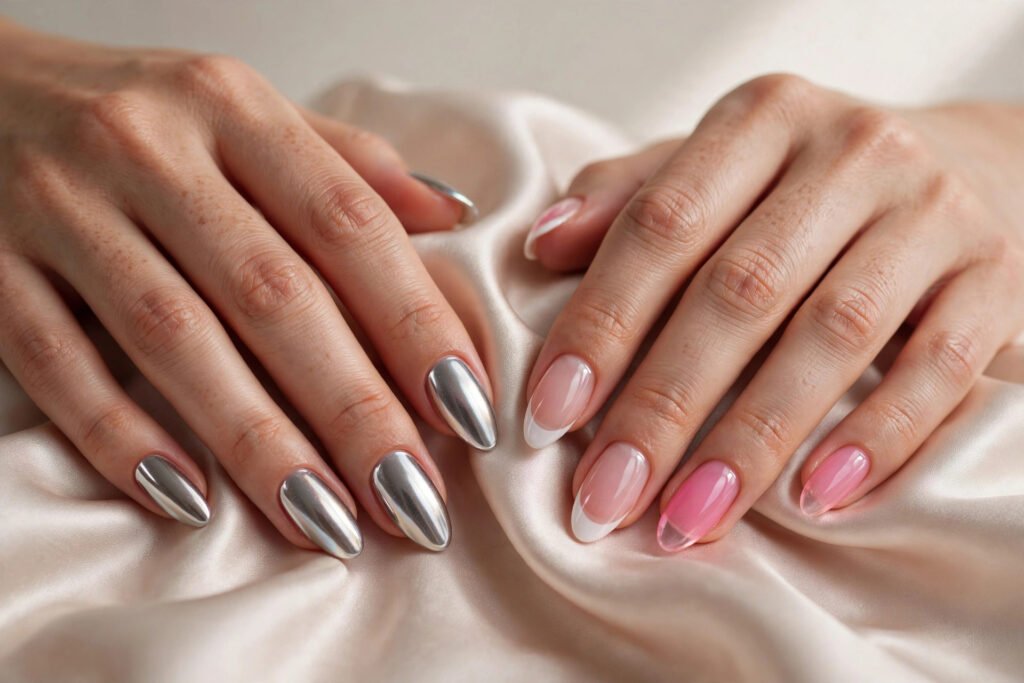
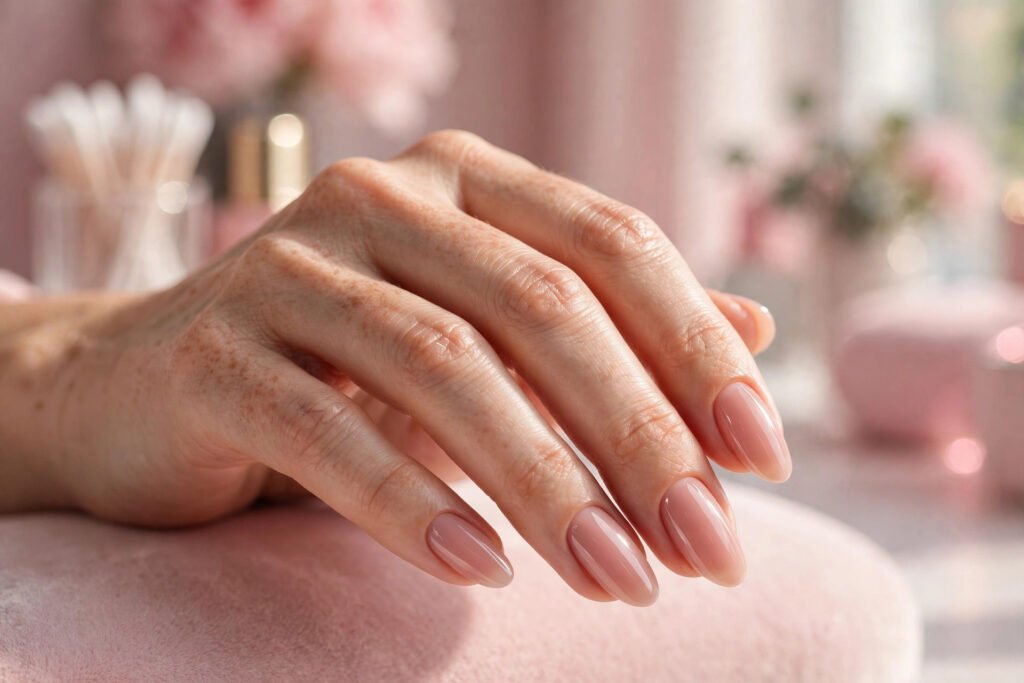
1. Classic Nude Gel Nails
Nude gel polish works for everyday wear, professional settings, and special occasions.
Choose a pinky beige, soft blush, caramel nude, or deeper brown-toned shade that complements your skin tone.
For more shade inspiration, explore our guide to Nude Nail Polish: 7 Shades That Go With Everything.
2. French Tip Gel Manicures
French tips remain a versatile option for short and long nails. Traditional white tips create a clean look, while colored tips offer a more playful variation.
A sheer pink or milky base can make the design look soft and understated.
3. Jelly Gel Nails
Jelly gel nails use translucent, candy-like color to create a glossy, see-through effect.
Popular variations include cherry red, rose pink, orange, lavender, and soft berry shades. Depending on the product, the effect may be created with a translucent gel polish or a suitable sheer color system.
Apply the color in thin layers to maintain the transparent finish.
4. Chrome and Glazed Finishes
Chrome powders and specialty top coats can create reflective, pearlescent, or metallic effects over compatible gel systems.
The final look depends on the base color, powder, and application method. Follow the product instructions carefully, particularly when using powders designed for specific top coats.
5. Simple Gel Patterns
You don’t need elaborate artwork to create an interesting manicure.
Try:
- Tiny dots over a nude base
- Minimalist lines
- Small floral accents
- Checkerboard details
- Color-blocked tips
- Soft aura-inspired gradients
For beginner-friendly inspiration, browse 10 Easy Nail Art Ideas for Beginners.
You can also explore 2026 Nail Trends: What’s Hot Right Now for more ideas.
Choosing Gel Nail Polishes
When shopping for gel nail polishes, look beyond the shade. Check the product’s intended use, curing requirements, compatible lamp, application instructions, and removal method.
A beginner may find a simple, compatible gel polish system easier to manage than a collection of unrelated products.
Gel polishes aren’t all interchangeable, even if the bottles look similar. Choose a system with clear instructions and avoid products that are difficult to identify or that encourage skin contact.
You may see the terms gel nailpolish, gel mani, and mani gel used in beauty searches. In practice, these generally point readers toward gel-based nail color or a gel manicure, but the product label should determine how a formula is applied and removed.
Are Gel Nails Safe for Your Natural Nails?
Gel nails can be used without obvious damage when suitable products are applied and removed correctly. However, they aren’t risk-free.
Common problems include nail thinning from filing, dryness from acetone, damage caused by peeling, and allergic reactions to ingredients in uncured gel products.
Understanding Gel Nail Allergies
Some gel products contain acrylate or methacrylate ingredients that can cause allergic contact dermatitis if exposure occurs. Risk increases when uncured product repeatedly touches the skin or isn’t properly cured.
Possible symptoms include itching, redness, swelling, blistering, and irritation around the fingertips. Reactions can also affect other areas, including the face or eyelids.
If you suspect an allergy, stop using the product and seek medical advice. Don’t try to resolve a reaction by switching to another gel brand or applying another coating over it.
Proper application means keeping uncured gel off the skin and following the manufacturer’s curing requirements. A lamp that looks bright or uses LED technology isn’t necessarily suitable for every gel formula.
Signs Your Nails Need Attention
Remove the manicure appropriately and seek advice if you notice:
- Persistent nail pain or unusual sensitivity
- Significant thinning or splitting
- Nail separation from the nail bed
- Unexplained green, yellow, or dark discoloration
- Redness or swelling around the nail
- Itching or blistering after gel application
Discoloration can have different causes, including infection, so don’t automatically cover it with a fresh manicure.
The goal is to enjoy beautiful nails without ignoring signs that your natural nails or surrounding skin need care.
Frequently Asked Questions About Gel Nails
1. How long do gel nails last?
A gel polish manicure commonly lasts around two to three weeks. Wear time varies with nail growth, preparation, application technique, daily activities, and the specific gel system. Remove lifting or damaged polish rather than waiting for it to peel away.
2. Are gel nails better than regular nail polish?
Gel polish generally lasts longer and resists everyday chipping better than regular polish. Traditional polish is usually easier to remove and doesn’t require a curing lamp. The better option depends on your lifestyle, preferred maintenance routine, and tolerance for the additional steps involved in gel application and removal.
3. Can I do a gel manicure at home?
Yes, provided you use a compatible gel system, follow the manufacturer’s instructions, and cure every layer correctly. Keep uncured gel away from your skin and don’t use an incompatible lamp. If you’re uncertain about the product or its removal method, professional application is a safer starting point.
4. Do gel nails damage natural nails?
Gel nails don’t automatically damage natural nails, but improper application and removal can. Over-filing, peeling off polish, aggressive scraping, and repeated product-related irritation can cause problems. Gentle preparation, correct curing, and suitable removal help reduce avoidable damage.
5. Can I remove gel nail polish without acetone?
Some gel products have specific alternative removal systems, but many soak-off gel polishes require acetone. Hard gel usually needs filing rather than soaking. Check the manufacturer’s instructions and never peel or force off the coating when it won’t release.
6. What is the difference between soft gel, hard gel, and builder gel?
Soft gel is commonly used for flexible gel polish manicures, and many formulas are soak-off. Hard gel is a more rigid product used for nail structure and extensions, generally requiring filing for removal. Builder gel adds structure or reinforcement and may be available in either soak-off or file-off formulations.
7. Can I apply regular nail polish over gel nails?
You can often apply regular nail polish over a fully cured, intact gel manicure, provided the surface is compatible with the products you’re using. Regular polish can then be removed with a suitable remover, but acetone may affect some gel top coats. Test compatibility and avoid aggressive buffing or unnecessary removal.
Final Thoughts
Gel nails offer a convenient way to enjoy glossy color, durable manicures, and creative nail designs. The key is understanding which gel system you’re using and treating application, curing, removal, and aftercare as equally important parts of the process.
For a simple color manicure, a compatible soft-gel polish system may be all you need. If you want additional structure or extensions, builder gel or hard gel may be more appropriate when applied by a trained professional.
Choose products with clear instructions, keep uncured gel away from your skin, and never peel off a manicure that starts to lift.
Beautiful gel nails should complement healthy nail care—not come at its expense.
[…] work with natural nails when sufficient length is available. For a longer or more pronounced taper, gel extensions or acrylic enhancements can help create the desired outline, although the result still depends on […]
[…] polish vs gel polish: which should you […]
[…] gel products that require curing under a compatible lamp, a traditional powder-and-liquid acrylic system […]
[…] gel nail kit typically includes a gel base coat, colored gel polish, a top coat, a compatible UV or LED lamp, and basic nail-prep tools. Choosing the right kit is only […]